
With Paymattic, you can create beautiful & responsive advanced forms with just a few clicks.
Let’s build your first form with the Paymattic plugin using the Advanced Editor.
- First, go to the WordPress admin dashboard → Paymattic plugin → click on the Create Form & then select the Advanced Editor.
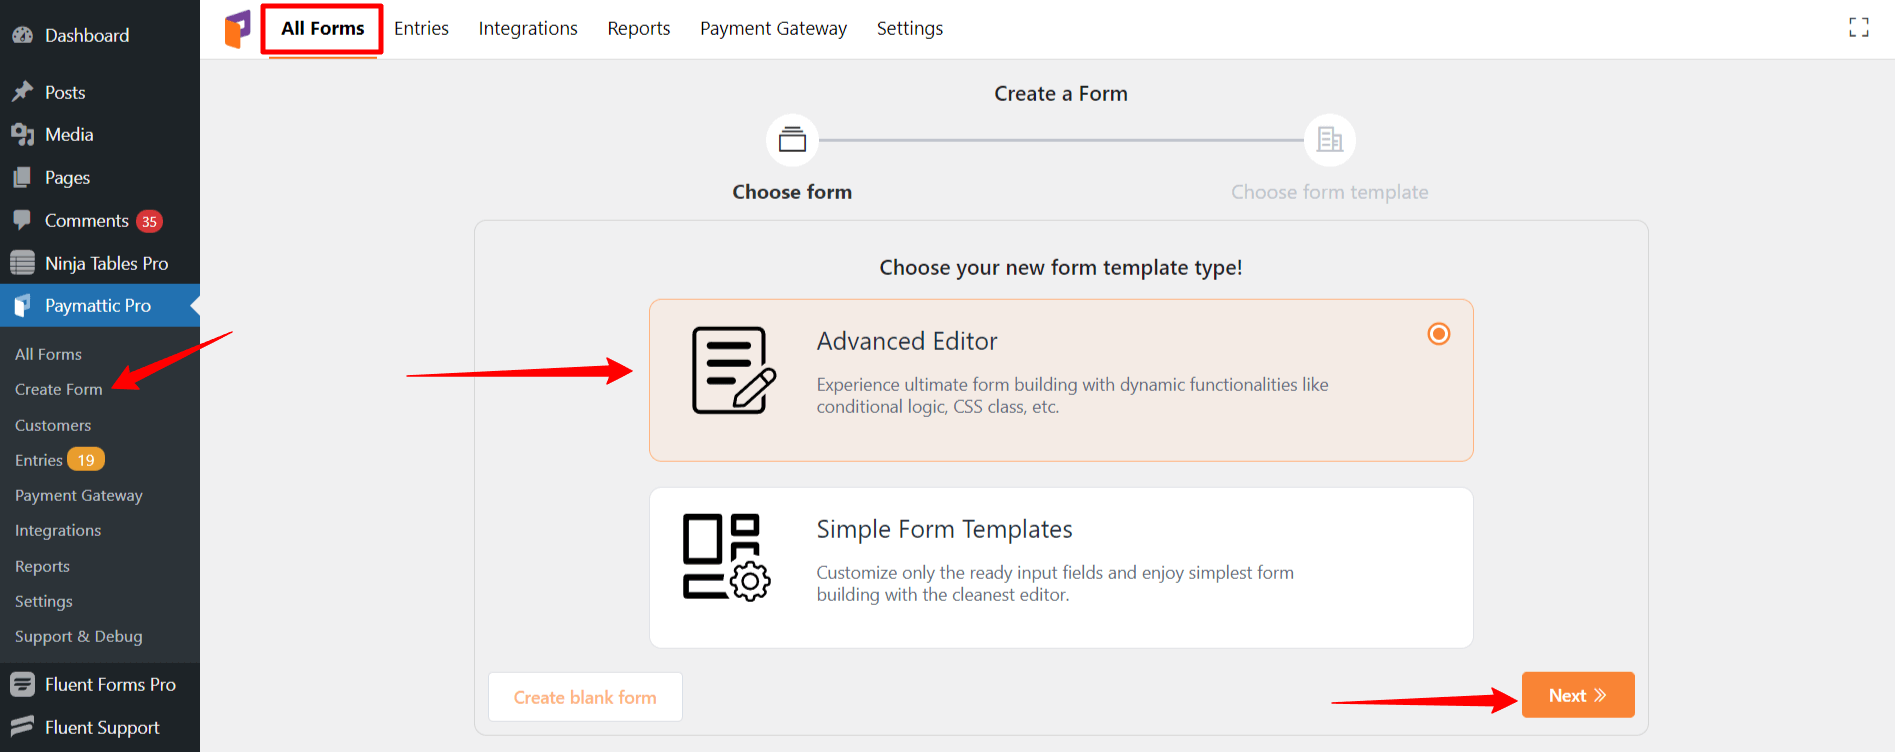
- Or, you can go to All Forms & then click the Add New Form button in the upper right corner.

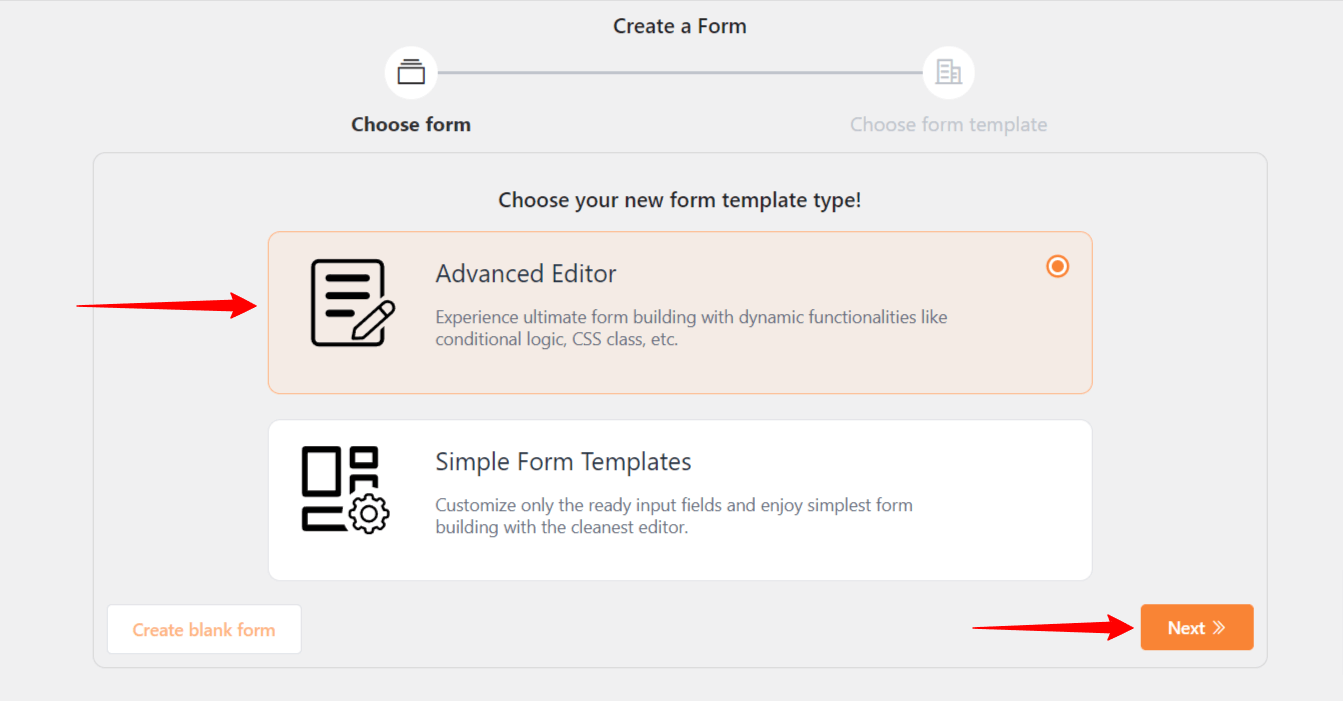
- Select the Advanced Editor option to show you how to start from the root & click on the Next button for going further.
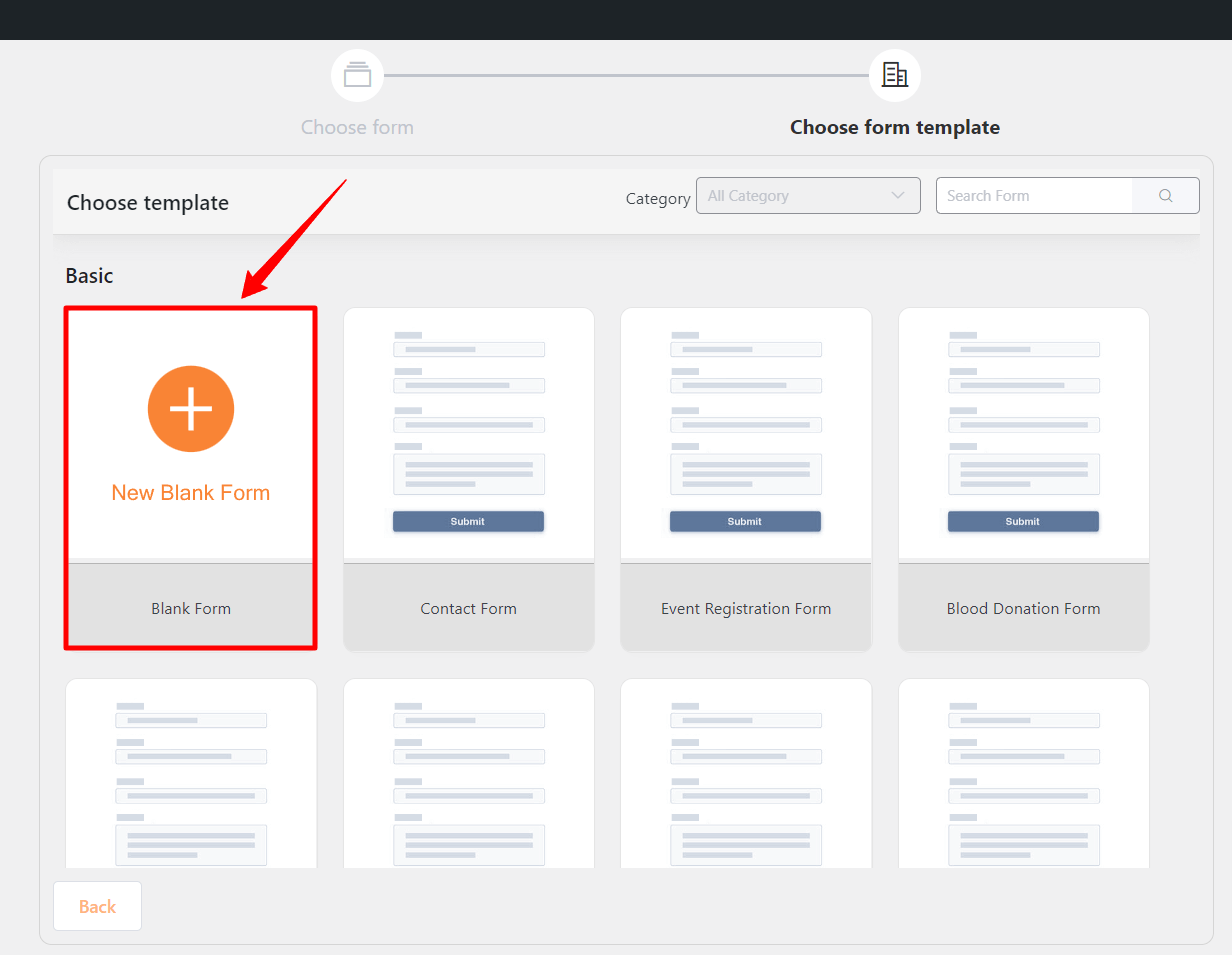
- Now, you will get some Form Templates and a New Blank Form.
- You can select your preferred templates later, but for now, select New Blank Form.
- Now, you will be landed on a form fields tab.
- Type ” / ” and a wonderful popup menu will display with all of the available input fields or you can search for the desired field after simply typing “/”. You can also click on the + icon to see all of the fields section.
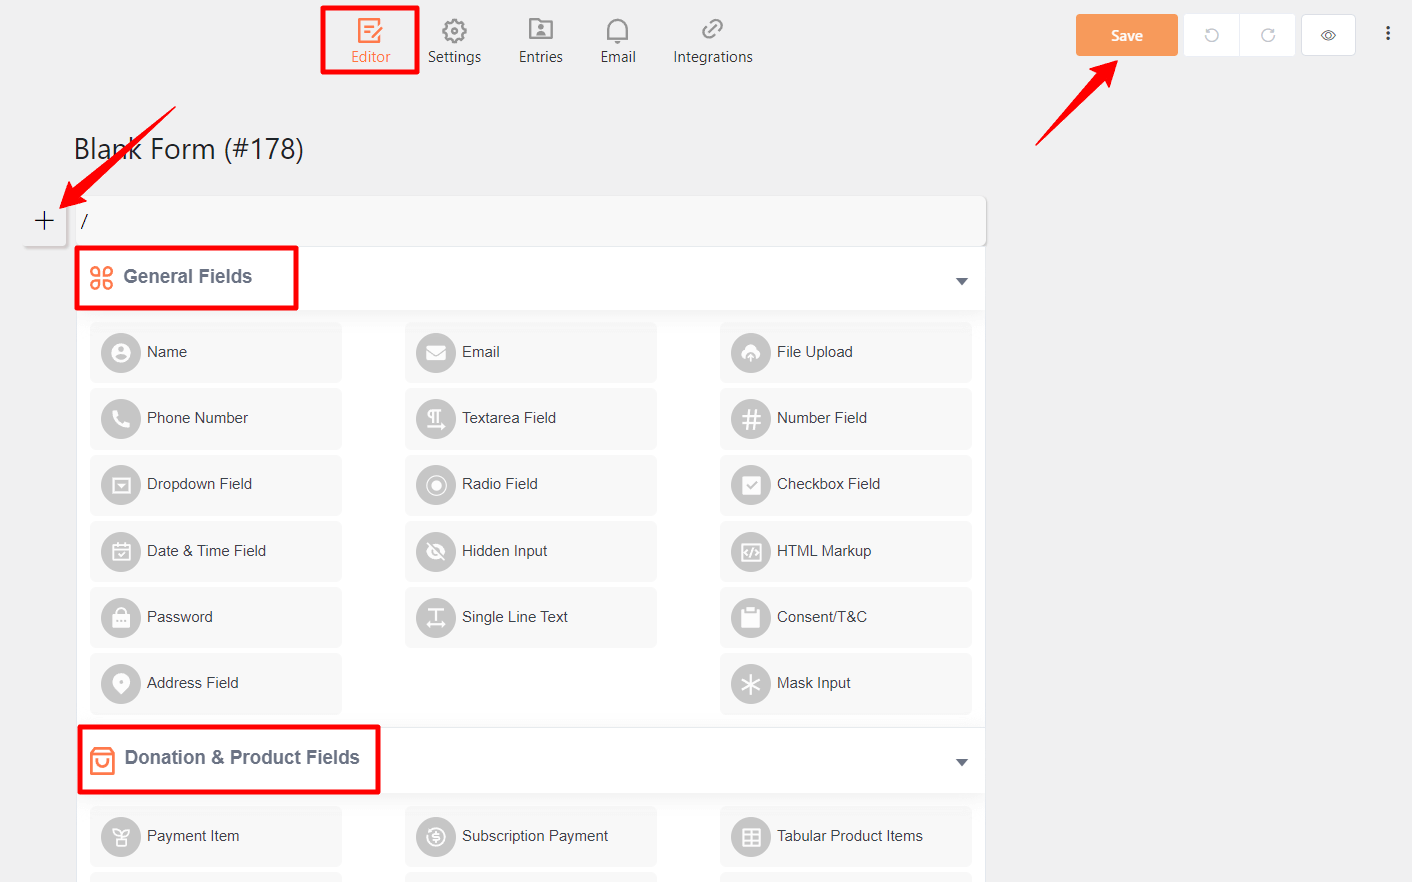
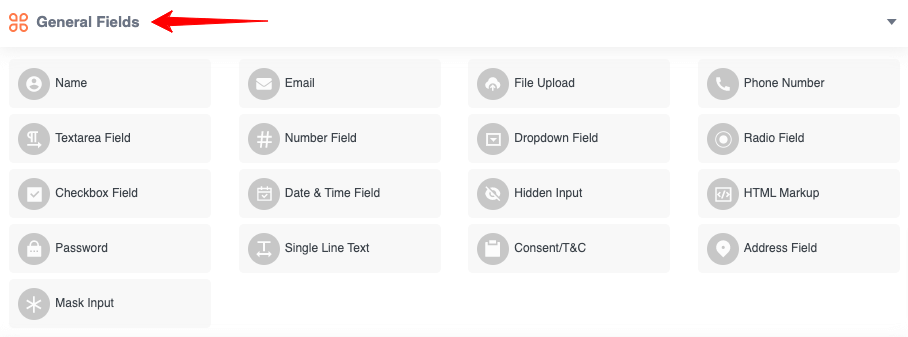
Here, you will find 3 different form field sections – General Fields, Donation & Product Fields & Payment Method Fields.
General Fields #
Then, under the General Fields area, select the Customer Name, Customer Email, Phone Number, etc input fields according to your needs. You may add these input fields with a single click or by dragging and dropping.
You can also check out this documentation to know more about General Fields.
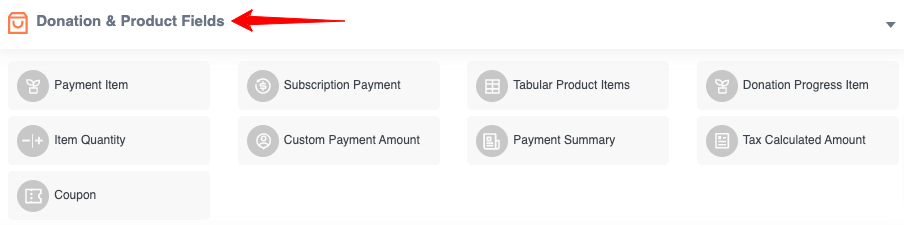
Donation & Product Fields #
Now, scroll down and you will find Donation & Product Fields area, for instance, Payment Item, Subscription Payment, etc fields.
Check out this documentation to know more.
Payment Method Fields #
You must now specify the payment method for this form. Go to the Payment Method Fields area at the bottom. A payment panel section will be added to the form after you click it.
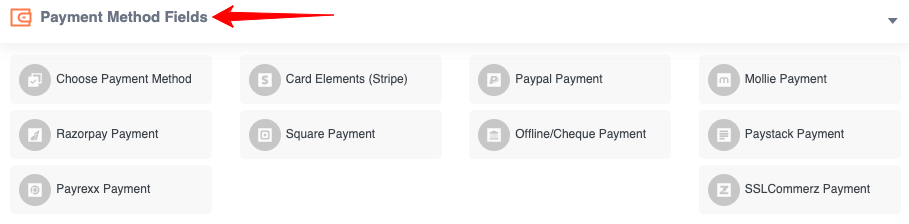
Then, to extend the payment panel portion, click the down arrow symbol. Multiple customization options are available; you can specify a new field label or use the present one.
Now, let’s make a payment form & check the preview of the payment form you have developed on your website.

To save the entire form as well as the fields, click the Save button.
Once you’ve made your initial payment form, you must publish it on your website so that your customers can pay you for the products or services you sell.
- If you wish, by selecting the kebab icon on the right sidebar of the form, you can also switch to the old Editor.
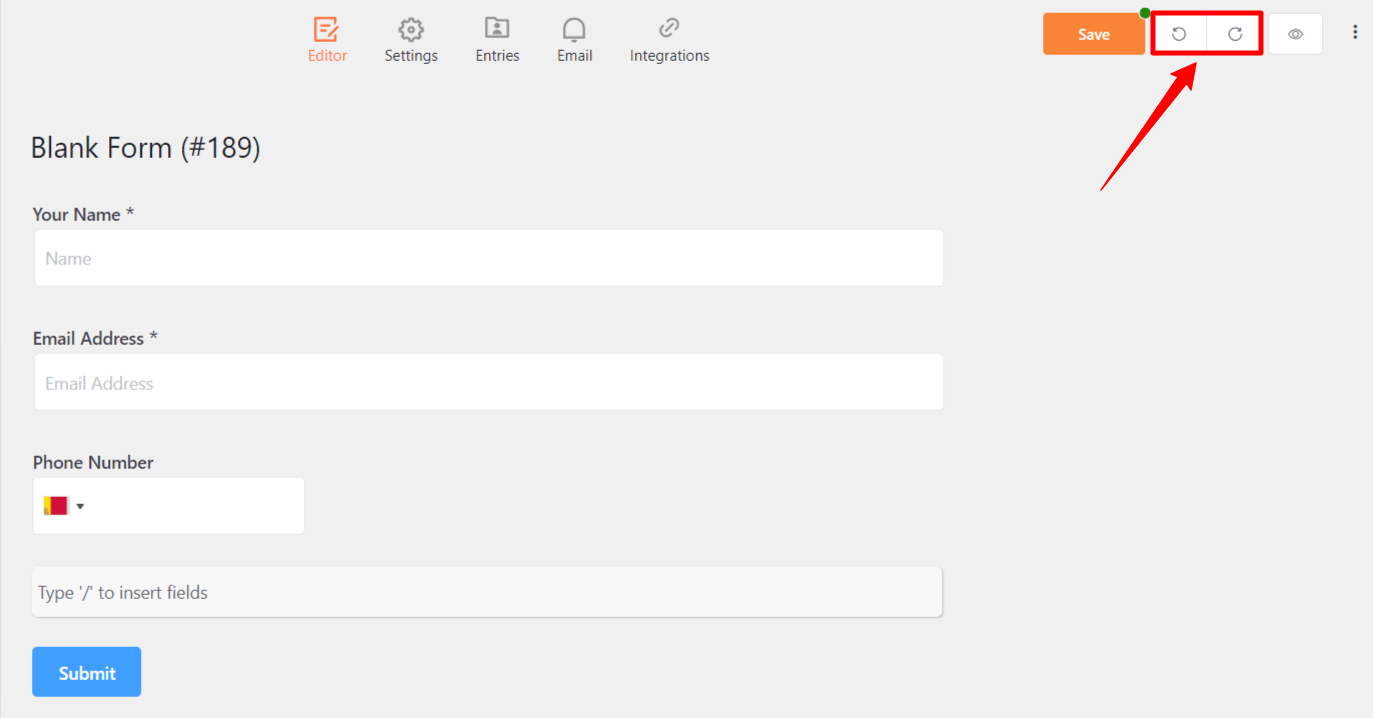
- If you accidentally inserted an input field and wish to delete it, simply click the undo button. If you change your mind, you can also redo it.
This is how you can easily create your beautiful forms with the Paymattic Advanced Editor!


