8 Min Read
How To Create A Custom Payment Gateway For Paymattic? (A Simple Guide For Developers)
Table of Content
Download Paymattic – it’s Free!

Subscribe To Get
WordPress Guides, Tips, and Tutorials
We will never spam you. We will only send you product updates and tips.
Paymattic already integrates with 14 payment gateways, including major platforms like Stripe, PayPal, and Authorize.net. Also, there’s an offline payment method.
But 14 is not enough if your business or nonprofit needs a payment gateway that is not available in Paymattic.
We understand the situation. You want the feature. But the payment gateway is not supporting you. This is exactly why I’m writing this article.
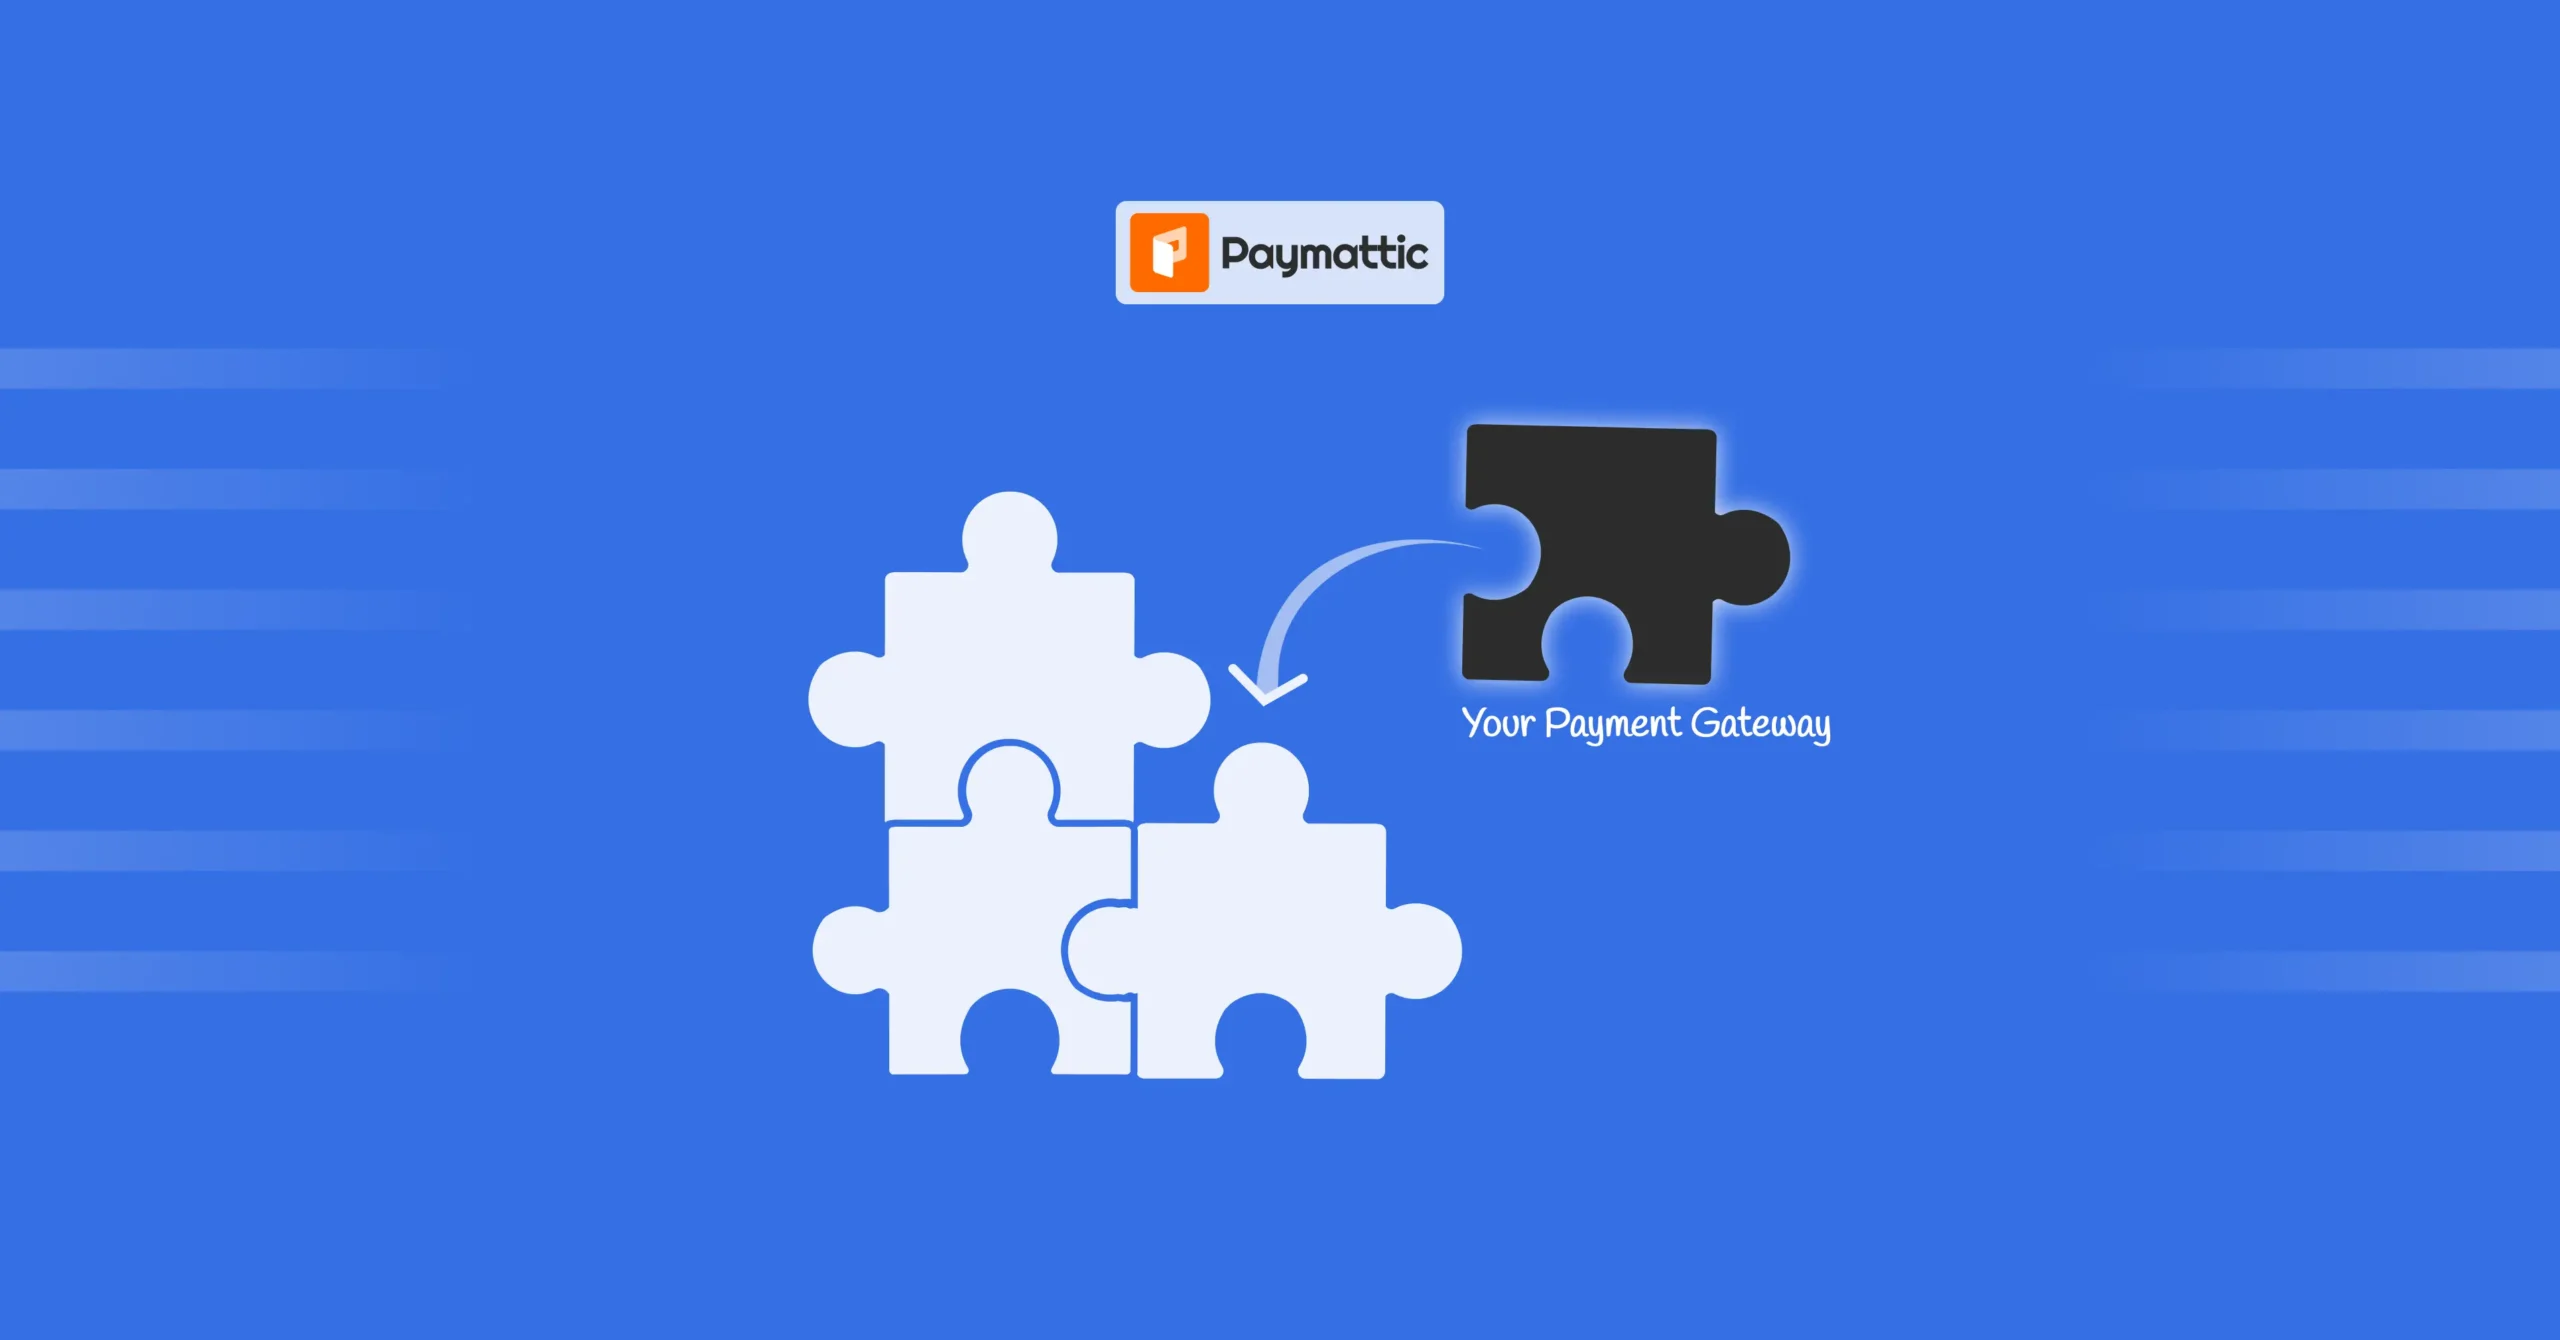
If you are a developer or have a team to do some coding, you can create your own custom payment gateway for Paymattic.
Paymattic is incredibly flexible and shows all the necessary hooks to create a custom payment gateway add-on. And it takes no more than 1 hour.
In this article, I’ll show you how you can create your custom payment gateway add-on for Paymattic. At the end of the article, I’ve attached a real-time demo of how we made the Mollie payment gateway add-on for Paymattic.
So, let’s get started.
What will you build?
After going through this article and implementing the steps, you’ll be able to build your own payment gateway add-on for Paymattic. You can use it for your purpose or sell it if you want.
So, let’s see what you’ll build. You’ll build a complete payment gateway add-on that –
- Shows up in Paymattic’s payment method selector
- Handles one-time payments seamlessly
- Manages subscription (if needed)
- Processes refunds and confirmations (if needed)
Why is it so easy?
Paymattic was designed with developers in mind. Its architecture prioritizes flexibility, speed, and zero friction during integration.
That’s why building a new gateway isn’t a painful process. Rather, it’s modular, predictable, and elegant.
Paymattic offers:
- Standard WordPress hooks system: Extend without breaking the core
- Clean API interfaces: Communicate with any payment provider effortlessly
- Automatic form rendering: Your gateway elements appear instantly in forms
- Built-in transaction management: Track, refund, and verify payments from one place
- Zero core modifications: Everything runs as an add-on. There’s no code hacking or version conflicts
The SIX-step process to build a payment gateway for Paymattic
In only six steps, you’ll be able to create your custom payment gateway for Paymattic. And it’ll show up in the Paymattic’s Payment Gateway menu with necessary settings as well as the Paymattic form builder.
Let’s look at the steps.
Step 1: Set up your plugin structure
Before diving into the code, let’s get your foundation right.
Every solid plugin starts with a clean, organized structure. So should your custom payment gateway for Paymattic.
Here’s the recommended folder layout:
your-gateway-for-paymattic/
├── your-gateway-for-paymattic.php (main plugin file)
├── API/
│   ├── YourGatewayProcessor.php (payment logic)
│   └── API.php (gateway API calls)
└── Settings/
    ├── YourGatewayElement.php (form element)
    └── YourGatewaySettings.php (admin settings)
This simple structure keeps your code modular and easy to scale.
- The main plugin file initializes everything.
- The API folder handles your gateway logic and external API requests.
- The Settings folder contains everything related to user configuration and form elements in Paymattic.
This simple layout ensures that your custom gateway remains developer-friendly, maintainable, and compatible with future Paymattic updates.
Step 2: Register your payment gateway
Now that your structure is ready, it’s time to make your gateway come alive.
The first step is registering it with WordPress and Paymattic.
Open your main plugin file and add this header to boot up your gateway:
Plugin Name: YourGateway For Paymattic
Description: Custom payment gateway for Paymattic
This tells WordPress what your plugin is and helps Paymattic recognize it as a compatible payment gateway.
Once registered, Paymattic automatically integrates with your plugin’s logic, and no extra configuration or complicated setup is required. That’s the beauty of Paymattic’s developer-friendly architecture.
You just set up the foundation, and Paymattic does the rest. In a few lines of code, you’ve built a Paymattic add-on that can integrate seamlessly into any WordPress payment workflow.
Think of this step as flipping the power switch. From here, your gateway is officially part of the Paymattic ecosystem.
Step 3: Set up the processor init( ) method
Now comes the real magic. We’ll connect your custom gateway to Paymattic’s payment engine. This is where your gateway logic comes to life.
In your processor file, create a init( ) method and initialize everything inside it.
This is the heart of your integration, where your settings, form elements, and API all start working together.
public function init() {
    // Initialize your components
    new YourGatewayElement();
    (new YourGatewaySettings())->init();
    (new YourGatewayAPI());

    // Hook into Paymattic's payment system
    add_filter('wppayform/choose_payment_method_for_submission', array($this, 'choosePaymentMethod'), 10, 4);
    add_action('wppayform/form_submission_make_payment_yourgateway', array($this, 'makeFormPayment'), 10, 7);
    add_action('wppayform_load_checkout_js_yourgateway', array($this, 'addCheckoutJs'), 10, 3);
}
What’s happening here:
- Your gateway’s components are being loaded and initialized.
- You’re using Paymattic’s hooks to tie your payment logic into the system.
- The
choosePaymentMethod,makeFormPayment, andaddCheckoutJsactions handle how your gateway behaves during checkout.
Once this is in place, your gateway becomes an active part of Paymattic’s payment flow. You’re no longer building in isolation. Your custom payment gateway now talks directly with Paymattic’s form submissions and payment events.
This is where your custom logic, API requests, and transaction flow all come together.
Step 4: Create the payment element
Now it’s time to make your gateway visible to users. This step ensures your new payment method actually shows up in Paymattic’s form builder.
To do this, extend Paymattic BaseComponent and define your gateway details:
- Set your gateway name so Paymattic can identify it.
- Add your logo or brand icon to display in the payment options.
- Define the payment method label that users will see on the form.
- Finally, push it to the list of available payment methods.
Once done, your gateway appears in Paymattic’s form builder interface. And it’s ready for users to enable it just like PayPal, Stripe, or any other supported gateway in Paymattic.
From here, you can test your full flow, refine your API integration, and customize the front-end experience to match your brand.
Your custom payment gateway is officially live in Paymattic. And it’s working seamlessly from backend logic to frontend display.
Step 5: Build your API and Settings classes
This step focuses on two key classes that make your gateway functional, secure, and configurable.
Settings Class:
This class manages everything related to admin configuration, including API credentials, live/test mode toggles, and any custom options you want your users to adjust from the dashboard. It’s the bridge between your plugin’s backend and the Paymattic admin interface.
API Class:
This is where the actual communication with your payment provider happens. The API class sends requests, receives responses, and ensures every transaction is processed correctly. You’ll define methods for creating payments, verifying responses, and handling webhooks.
Together, these two classes form the backbone of your gateway’s payment logic. They handle all the critical operations securely and without cluttering your core files.
From here, you’re just a few configurations away from a working, production-ready custom payment gateway add-on.
Step 6: Configure your gateway fields
Your next task is to define the fields your gateway will use inside the admin panel. These fields tell Paymattic what credentials, keys, and settings your gateway requires to operate.
In your settings class, define a globalFields() method to list out all necessary inputs.
Paymattic supports a wide range of field types, including text boxes, dropdowns, and checkboxes:
payment_mode– Switch between Test and Live environmentstest_pub_key&live_pub_key– Public API keystest_secret_keyandlive_secret_key– Secret API keystext– For custom labels, merchant IDs, or button textcheckbox– To enable or disable specific featureshtml_attr– For documentation links or webhook URLs
An example setup should look like this:
public function globalFields() {
    return array(
        'payment_mode' => array(
            'type' => 'payment_mode',
            'options' => array('test' => 'Test', 'live' => 'Live')
        ),
        'live_api_key' => array(
            'type' => 'live_pub_key',
            'required' => true,
            'label' => 'Live API Key'
        ),
        'button_text' => array(
            'type' => 'text',
            'value' => 'Pay with YourGateway'
        )
    );
}
And that’s it. Your custom payment gateway add-on is ready.
Paymattic automatically generates a clean, user-friendly admin interface based on your field definitions. No extra coding is required. From here, users can configure their credentials, test payments, and switch environments.
Your gateway is now fully integrated, customizable, and ready to process real transactions.
💁🏻♂️ Pro Tip: Start with Paymattic’s Mollie add-on example on GitHub. It’s a complete, working implementation you can customize in minutes.
The final result
Once your gateway is fully integrated, you’ll see the beauty of Paymattic’s flexible architecture in action.
Your custom payment gateway add-on now works hand-in-hand with major processors like Stripe, PayPal, and Razorpay within the same clean Paymattic interface.
Here’s what you’ve achieved:
- Your payment gateway appears alongside Paymattic’s built-in options, styled automatically with no extra front-end work.
- Processes payments using your own API logic while maintaining full compatibility with Paymattic’s payment flow.
- Confirms transactions instantly, giving users a smooth checkout experience and accurate transaction feedback.
- Manages everything inside Paymattic’s dashboard, from payment history to transaction logs and customer details.
Subscribe Newsletter
Subscribe to our newsletter for updates, exclusive offers, and news you won’t miss!

Test and deploy
You don’t have to start from scratch. To save time, grab Paymattic’s live Mollie add-on as your base structure and build from there.
Our Mollie add-on took just 30 minutes to build, and it handles –
- One-time payments
- Recurring subscriptions
- Payment confirmations
- Refund processing
Here’s your quick launch checklist:
- Download the Mollie add-on from Paymattic’s GitHub repository.
- Replace every instance of “mollie” with your gateway’s name.
- Update the API calls to connect your chosen payment provider.
- Run a quick test and then deploy
Conclusion
Integrating a payment gateway used to mean days of documentation, endless debugging, and deep core edits. With Paymattic, we made it super simple and super easy.
Paymattic handles the complex parts for you: rendering forms, processing transactions, and managing payment data. All you need to do is plug in your API and focus on your needs.
Join the thousands already enjoying Paymattic Pro!
Mahfuzur Rahman Nafi
Mahfuzur Rahman Nafi is a Marketing Strategist at WPManageNinja. With 4 years of experience in Product Marketing, he has developed marketing strategies, launched products, written content, and published websites for WordPress products. In his free time, he loves to read geeky stuffs.








Leave a Reply