

How to Accept and Display Donations on WordPress Site


Table of Content
Download Paymattic – it’s Free!

Subscribe To Get
WordPress Guides, Tips, and Tutorials
We will never spam you. We will only send you product updates and tips.
Whether you are running a non-profit, charity or an NGO, you may want to accept donations and display donor data on your website. You can do the trick very easily on the WordPress site with the help of a plugin.
There are tonnes of plugins available there to accept payment & donations, but very few of them allow you to display donations on the website’s front end. Today, we will show you how you can accept and display donations on a specific page of your website.
Install the Paymattic Pro & Ninja Tables Pro WordPress plugins
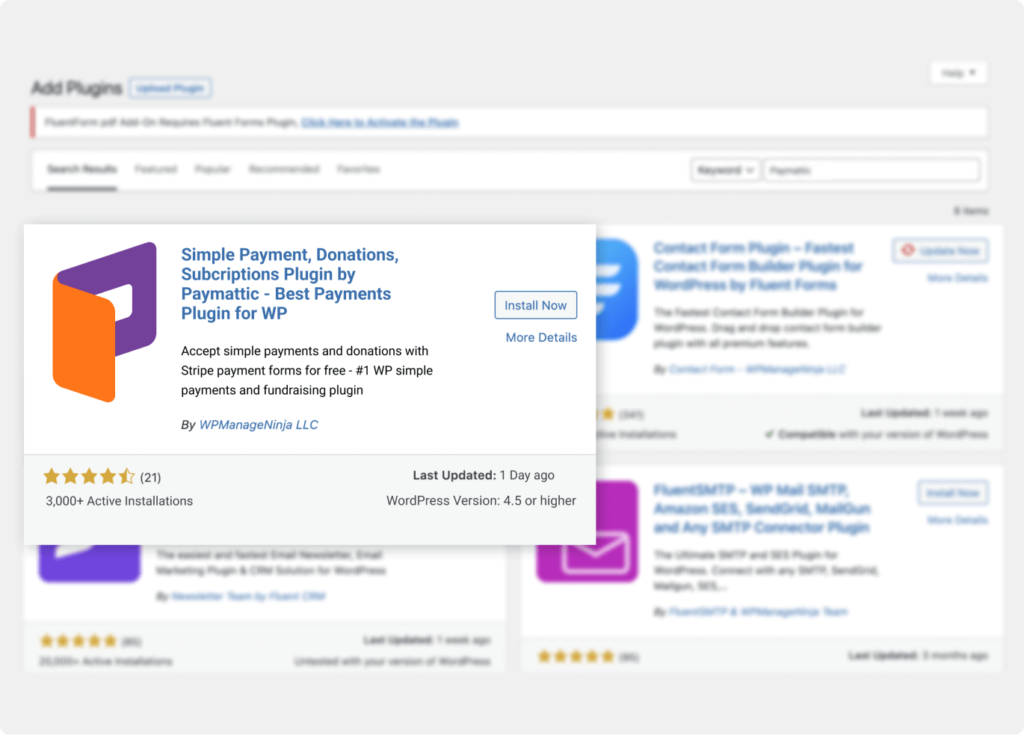
First of all, you need the Paymattic Pro & Ninja Tables Pro WordPress plugins to accept & display donations in WordPress. To install the plugins –
- Go to your WordPress admin dashboard and click on Plugins → Add New. Search for the Paymattic plugin and install it, then activate the plugin. You can install the Ninja Tables plugin in the same way.
Donation is a premium feature of the Paymattic plugin. So, you need to upgrade to the pro version to use all the donation features.
Besides, you need to use the Custom SQL Query feature of Ninja Tables Pro plugin to display the donation entries on a webpage. As it is a premium feature, you have to upgrade the plugin to Ninja Tables Pro.
Ready to get started?
Experience payments and donations for WordPress like never before. Try Paymattic now!
Accept donations with the Paymattic plugin
If you are running a WordPress website it’s so straightforward to accept donations from the donors using Paymattic. Let’s see how to accept donations on the WordPress site using the Paymattic plugin.
Create a donation form
Now, you will be able to create donation forms in Paymattic (Pro). It comes with two pre-built donation templates so that you can create your donation form swiftly.
To create your donation form, go to Paymattic (Pro) > Create Form from your WordPress dashboard. Here, you can create a donation form using pre-built templates or from scratch.
Read this blog to learn how to create a donation form in WordPress in more detail
Publish the form
After successfully creating a form, you need to publish the form on a specific webpage of your WordPress website.
- To publish the donation form, go to Paymattic (Pro) > All Forms.
- Copy the shortcode located on the right side of each form name.
- Create a donation page from your WordPress dashboard and paste the shortcode on the webpage where you want to place the form.
Publish the page and you are all set to collect donations on your WordPress website.

Display donations in WordPress website
Once you publish your donation form, you will start accepting donations. By default, you can view all your donations and relevant data from the admin dashboard of the Paymattic plugin.
If you want to display donations on a specific webpage, you can show it in tabular format using the Ninja Tables Pro plugin. Let’s see, how to display donations in the front end using the Ninja Tables Pro.
We have shown you how to install & activate Ninja Tables pro in the very first step. So, now we will move on to creating a custom SQL Query table with Ninja Tables. This table fetches data from the Paymattic donation form submission and displays them on a webpage where you want.
Subscribe Newsletter
Subscribe to our newsletter for updates, exclusive offers, and news you won’t miss!

Create a table with Custom SQL Query
Once you have activated the Ninja Tables Pro, you can create a table to display donation entries. To do so –
- Go to Ninja Tables Pro → Tables and click on the Add Table button.
- Then, select the Custom SQL Query option from the left sidebar.
- Provide a Table title and paste the SQL query provided below to drag donation data from the Paymattic form. Replace “form_id” with the Paymattic form ID that you have created. For example, if your donation form ID is 1149, the custom SQL query will be –
SELECT customer_name, customer_email, payment_totalFROM wp_wpf_submissionsWHERE form_id = 1149;Here customer_name, customer_email, payment_total are the column key that needs to be matched with your donation form fields.
- Then, click on the Update SQL Query button.
- Now, Press the Preview button and you can see the donations in the tabular format below.
- Then, copy the Ninja Tables shortcode from the top left corner and paste it on the specific webpage where you want to show the table.

Bonus Tips
As you fetch the donation amount using the Custom SQL, Ninja Tables displays it as unit value (Cents) instead of the real currency format (Dollar). To convert the Donation Amount column to your desired format, you can use the Transform Value feature of Ninja Tables.
- Click on the Table Configuration tab from the top bar.
- Then click on Columns → Donation Amount and click on the edit icon.
- Select the Transform Value tab and check the Enable Excel Formula support for Transform Value option.
- Write your custom Excel formula to convert the value. For example – I am using the below formula to convert unit values (Cents) to Dollar amounts –
=CONCATENATE("$",{{row.payment_total}}/100)
That’s the simple process of displaying donations on a webpage of your site.
Final words
Hope you understand the easy process to accept and display donations on a WordPress website. It gives more flexibility to the users and it makes the donation process more exciting and transparent.Try the ultimate WordPress donation plugin Paymattic today and explore more surprising donation features.
Join the thousands already enjoying Paymattic Pro!

Shuyeb Ahmed
Hi, This is Shuyeb. I am a digital marketing enthusiast, love to write about WordPress products and new updates. At the weekend, you will find me exploring nature & beautiful places.


Leave a Reply