

Automate Your Website Using the WordPress Webhook Integration


Table of Content
Download Paymattic – it’s Free!

Subscribe To Get
WordPress Guides, Tips, and Tutorials
We will never spam you. We will only send you product updates and tips.
Are you looking for ways to automate actions in your WordPress site? You can do so by simply using the WordPress Webhook integration with the help of a plugin.
You can do a variety of automation using the Webhook in your WordPress site. Push notifications, sending data from one site to another, workflow automation and much more, everything is possible with a simple Webhook integration.
In this blog, we are going to tell you how to automate your website workflow using the power of WordPress Webhook.
What is a webhook?
To put it simply, a webhook is a kind of special URL. It basically lets different websites, applications, tools and plugins communicate with one another by passing data using the “Webhook URL”. You can use webhooks to automatically send or receive data between multiple websites.
Besides, a webhook lets you integrate with third-party platforms such as Zapier, FluentCRM, Slack, Telegram etc. In WordPress, there are tonnes of applications for webhooks. Today, to have a hands-on experience on webhook we will show you, how to receive donor data from one website and save them to your FluentCRM contact list on another website using the Paymattic plugin.
Set up WordPress webhook integration using the Paymattic plugin
For demonstration purposes, we are going to show you step-by-step how you can integrate webhook into your WordPress site. This article will show you how to send donor data from one website to the FluentCRM list of another website using the webhook integration.
Paymattic already has a native integration with FluentCRM. So, you don’t need to use webhook to pass data from a Paymattic form to FluentCRM in the same website. But when you intend to send data from one server (website) to another one, you will need a webhook integration.
So, let’s jump into the main steps. Before we start the process, we have already installed and activated the Paymattic Pro and Fluent CRM Pro WordPress plugins. As webhook is a premium feature of Paymattic, you must activate the Pro version before you start the integration.
Create a donation form
First of all, we are going to create a donation form in Paymattic that will collect the donor information while they make any donation.
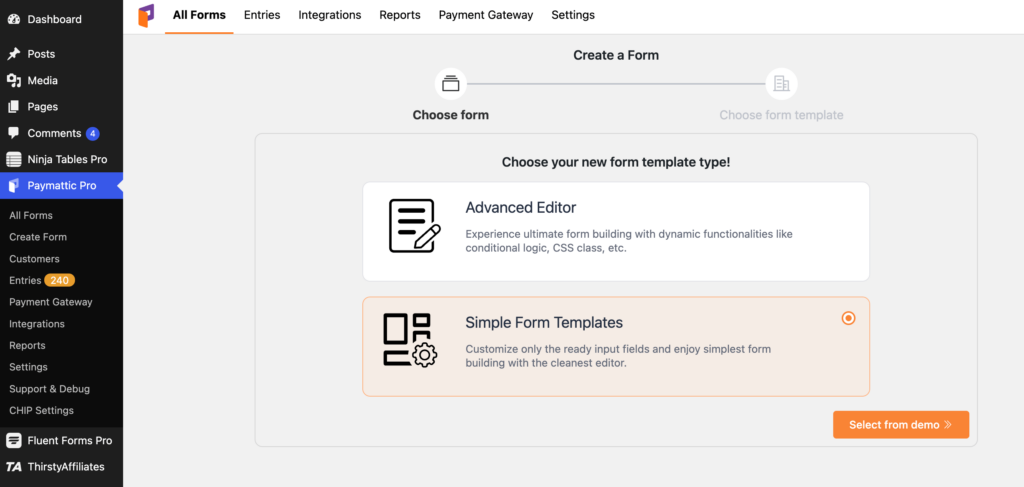
- To create the form, go to Paymattic Pro → Create Form.
- Then click on Simple Form Templates → Select from demo.
- Then choose a donation template and configure the fields.
We have created the donation form successfully. Now, we need to enable webhook for this form to connect it with the FluentCRM list.

Ready to get started?
Experience payments and donations for WordPress like never before. Try Paymattic now!
Create a webhook in FluentCRM
As we will send data to FluentCRM, we need to create an incoming webhook in FluentCRM. To create the webhook –
- Go to FluentCRM → Settings → Incoming Webhooks. Remember, you need to create the incoming webhook in the destination website where you want to send donor data.
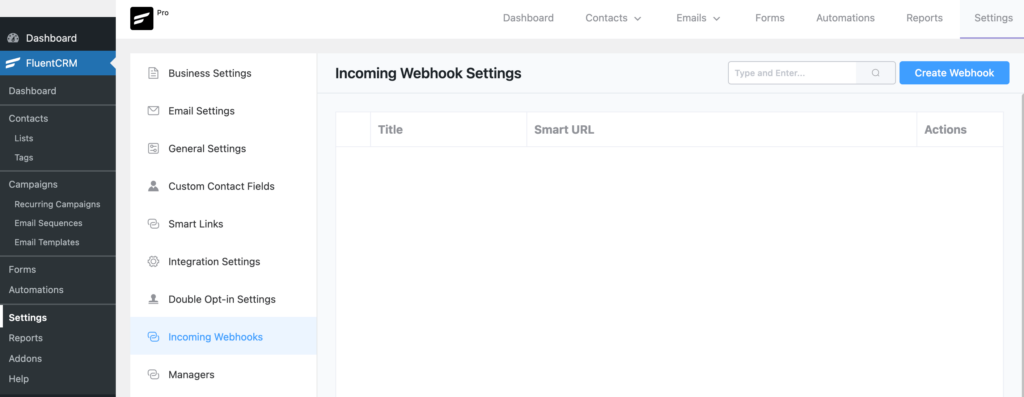
- Click on the Create Webhook button.
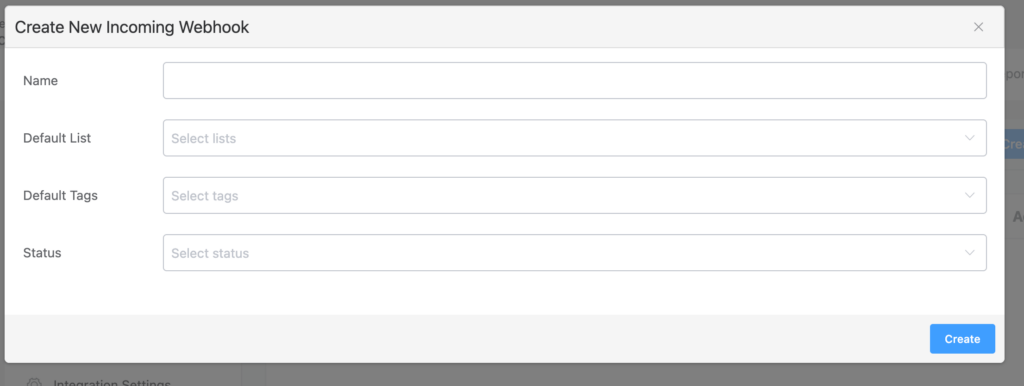
- Here, configure the necessary field and click on the Create button.
- You will get your Webhook URL that you need to paste in the Paymattic plugin.
You can create custom fields for all contacts in FluentCRM. Make sure you match the field key with the form fields that you created in the Paymattic form.

Subscribe Newsletter
Subscribe to our newsletter for updates, exclusive offers, and news you won’t miss!

Enable webhook in Paymattic Pro
To enable the webhook feature in Paymattic Pro go to Integrations and enable the webhook module.
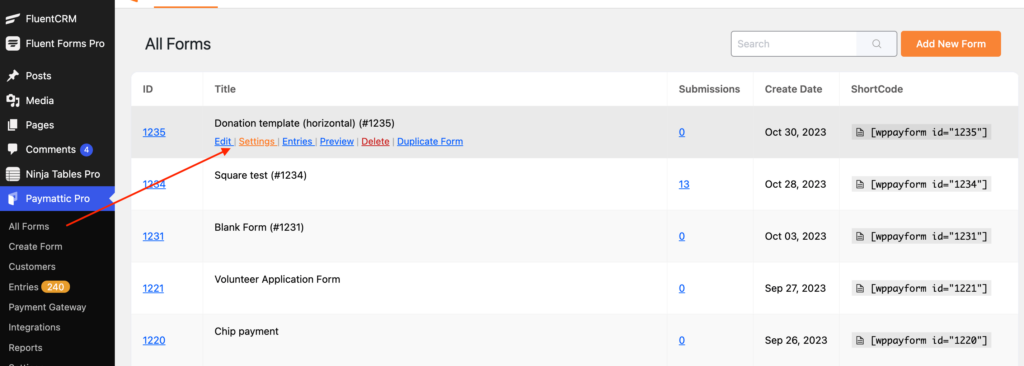
- Now, go to All Forms and select the form you have just created.
- Click on Settings option of the particular form.
- You can find the Webhook module at the bottom of the left side bar.
- Click on Add New and fill up the necessary fields.
- Here, paste the Webhook URL that you created in the FluentCRM into the Request URL field.
- Set the Request Method – Post and Request Format as JSON.
- At last, click the Update Webhook Feed.

Great! You have integrated Paymattic with FluentCRM using the webhook. Now, any user who submits the donation form automatically get listed in the FluentCRM contact list.
Final words
The WordPress webhook integration is an unavoidable tool for data communication and workflow automation. It provides a seamless and efficient way to connect different websites, enabling real-time communication and automation. Whether you’re working for donation platform, online payment or e-commerce site, Paymattic webhook is the most useful tool to streamline automation.
Try the Paymattic plugin today and share with us how you are using the power of webhook for your business.
Join the thousands already enjoying Paymattic Pro!

Shuyeb Ahmed
Hi, This is Shuyeb. I am a digital marketing enthusiast, love to write about WordPress products and new updates. At the weekend, you will find me exploring nature & beautiful places.


Leave a Reply