Getting Started With Paymattic at No Cost
It sounds like a dream to get a reliable and feature-rich WordPress payment and donation plugin without breaking the bank. Right? But it’s possible with Paymattic. As you know, Paymattic is a user-friendly WordPress plugin that caters to a wide range of needs, from businesses to non-profits, membership programs, and e-learning websites.
The most amazing part is that the plugin lets you start your journey at zero cost!
This article will show you what you can do with a Paymattic free version. So hold on to your seat and let’s get started.
What can you get for free with Paymattic?
Paymattic is a versatile WordPress plugin designed to facilitate payment processing and collect funds for charity within the WordPress platform. The free version of Paymattic offers a solid foundation for any business to collect their payment and non-profits to receive their online donations. Here is a breakdown of what the Paymattic free version offers:
- Prebuilt form template
- Multi-step form
- Form fields
- Form entries
- Form Import and export
- Custom payment amount
- Donation progress item
- PDF/invoices on payment
- Payment gateway
- Zapier and other Integrations
- Security
Prebuilt form template
If you are planning to receive payments or donations online, you will need web forms to collect data from your customers or donors. Creating a form with Paymattic is simple and beginner-friendly. However, if you prefer to avoid any extra hassle, Paymattic has a solution for you.
Paymattic offers prebuilt payment and donation form templates for free. Simply open the webform template and use it as is, or you can also add additional fields if necessary.
However, if you want some advanced prebuilt templates then check out the Pro version, it provides access to over 70+ form templates.
Multi-step form
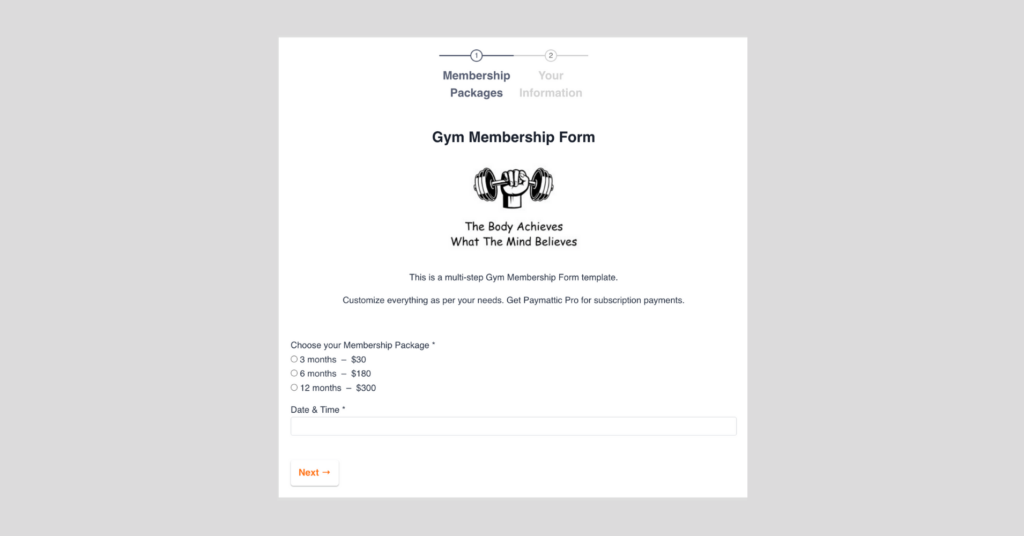
Whenever you are creating any form, one thing you must keep in mind is the form’s appearance. If your form looks lengthy, many people won’t like to fill it out. However, collecting data from customers is also important. In this situation, a multi-step form will be a great solution for you.
Paymattic offers multi-step form feature in the free version to collect more data without scaring the customers. It’s a prevalent form as it saves your website space and ensures a conversion rate of almost 300%.
Form fields
Forms fields are important for businesses and charities to collect information that matters most. Like if you are running any fundraising campaign, you need to collect lead email for further communication. So here an email field is required.
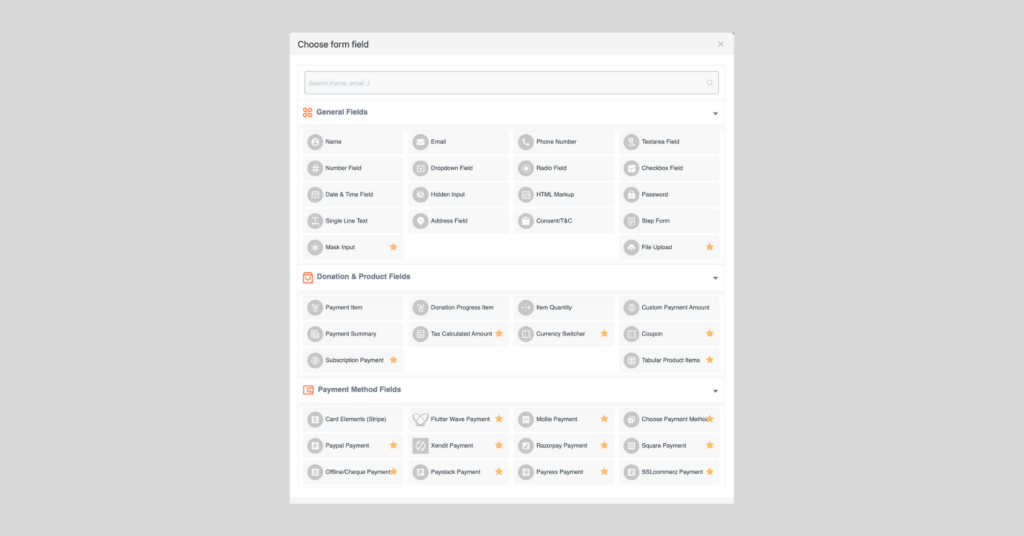
Paymattic Pro already offers 40 form fields, 22 of which are available on the free version. Three categories of input fields are currently available in Paymattic, such as:
- General Fields
- Donation and product fields
- Payment method fields
These input fields are used for different purposes. You can use any input fields in your web form, depending on your preference.
Form entries
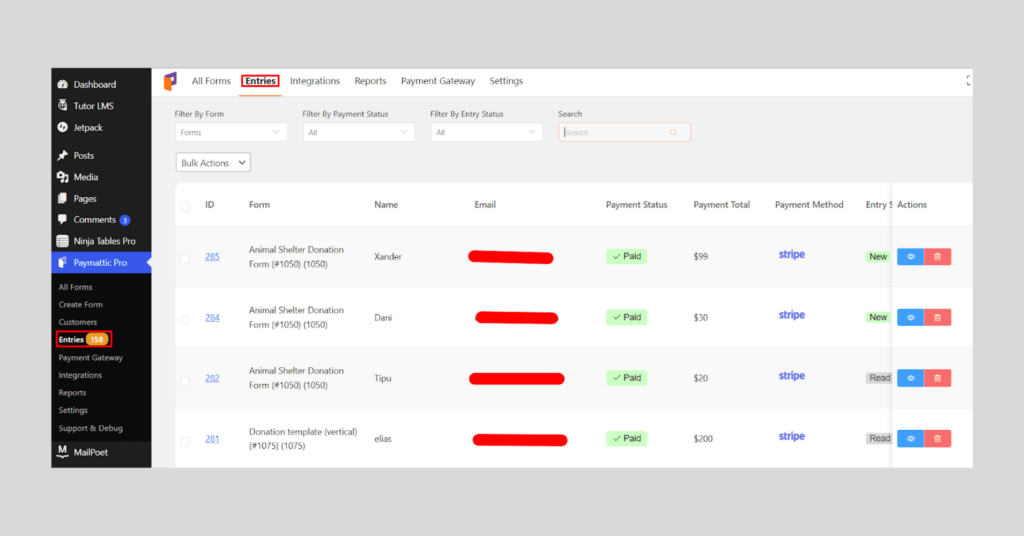
Paymattic offers user-friendly entry management features. For instance, when customers or donors fill out a form, their data is automatically organized on the sellers’ or fundraisers’ dashboard. This feature makes it easy to view and manage all entries from a single page.
In the “Entries” section, you can find all entries from all forms on your website. It includes the following information:
- Name of the form
- Customer / Donor name
- Payment status
- Total payment
- Payment method
- Entry status
- Submission date
This feature is truly a time-saver! In addition to all form entries, you can also check specific form entries with the free version.
Subscribe to Our Newsletter
Join the crowd for more promotional offers, product updates, fundraising tips and tricks.

Form Import and export
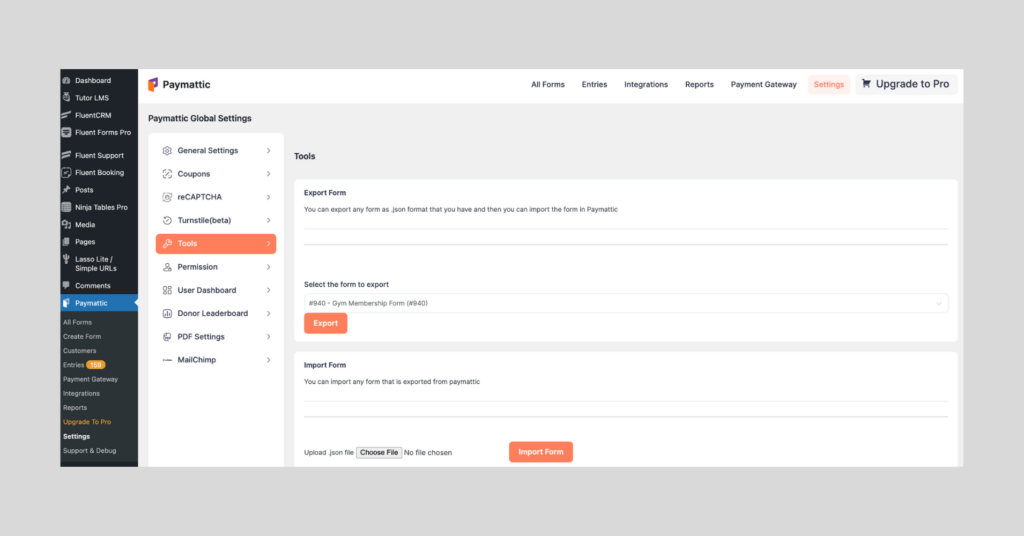
It’s not easy to create a form again and again! If you wish to export and import any form from one website to another website, then you can do it with Paymattic. The export-import feature lets you transfer your form from one site to another without having to create a new one.
To export any form from Paymattic, simply select the form and click on the export button. The form will be automatically exported in JSON format. Similarly, you can import forms on Paymattic by uploading any form’s JSON file and pressing the import form button. That’s all! You will find your imported form in the All Forms section.
Custom payment amount
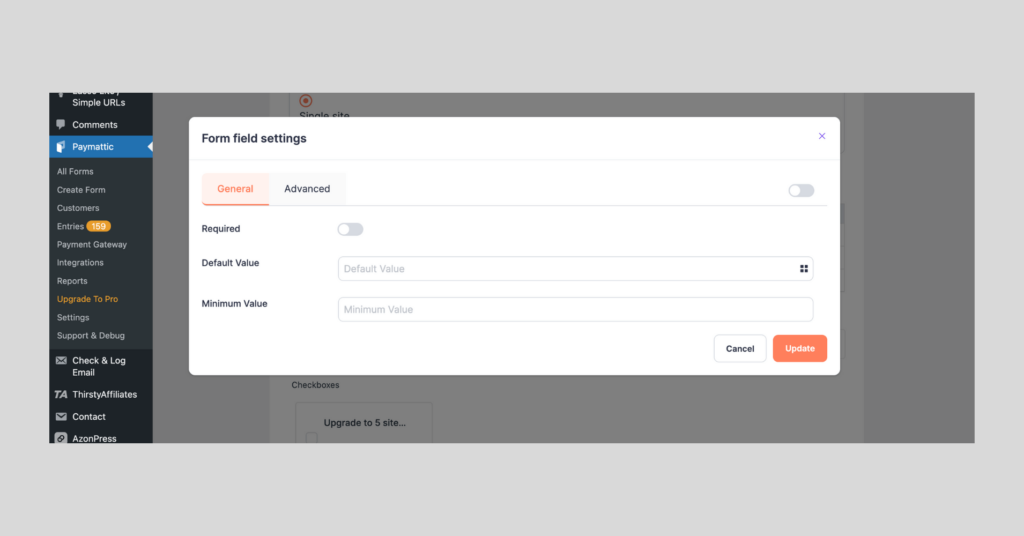
Paymattic allows users to set a custom amount on their form. The features enable end-users to input a default value and a minimum value on their form.
This feature is handy when accepting donations for your campaign. Because setting a default value on your form helps donors understand the suggested amount, while still giving them the freedom to donate any amount they want.
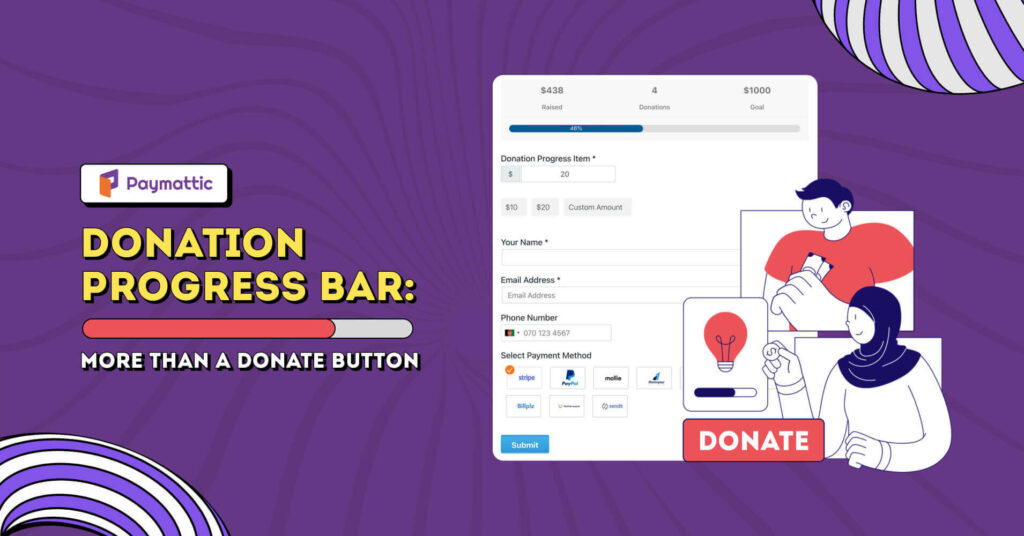
Donation progress item
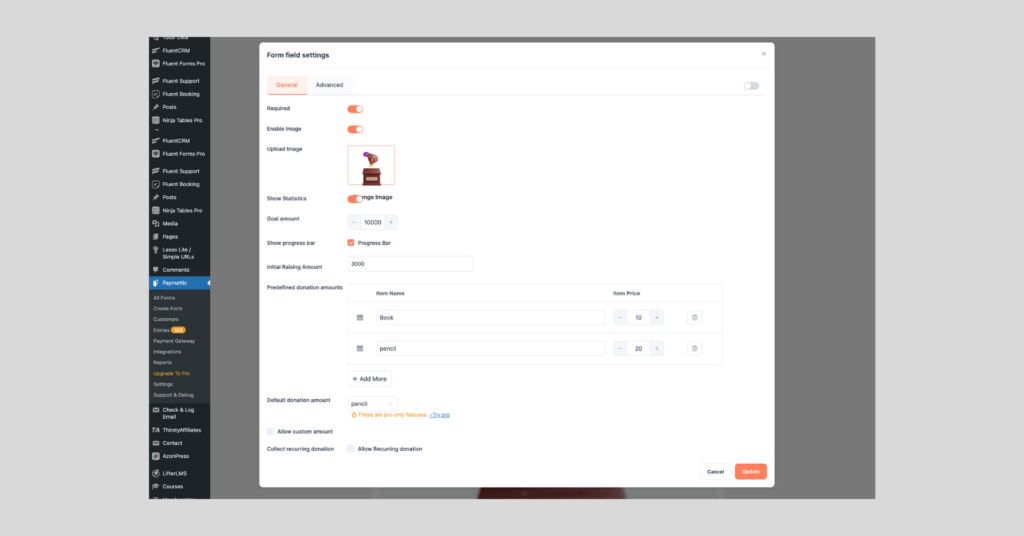
The Donation Progress Item is a crucial feature for creating a donation form. If you desire to include a list of items with fixed prices, along with a progress bar, then the Donation Progress Item is the ideal choice.
Progress bar is a unique feature of this field. It shows the real-time progress based on the amount of donations submitted. Paymattic provides donation progress items free. So anyone with the free version can easily build an eye-catching donation form with this feature.
PDF/invoices on payment
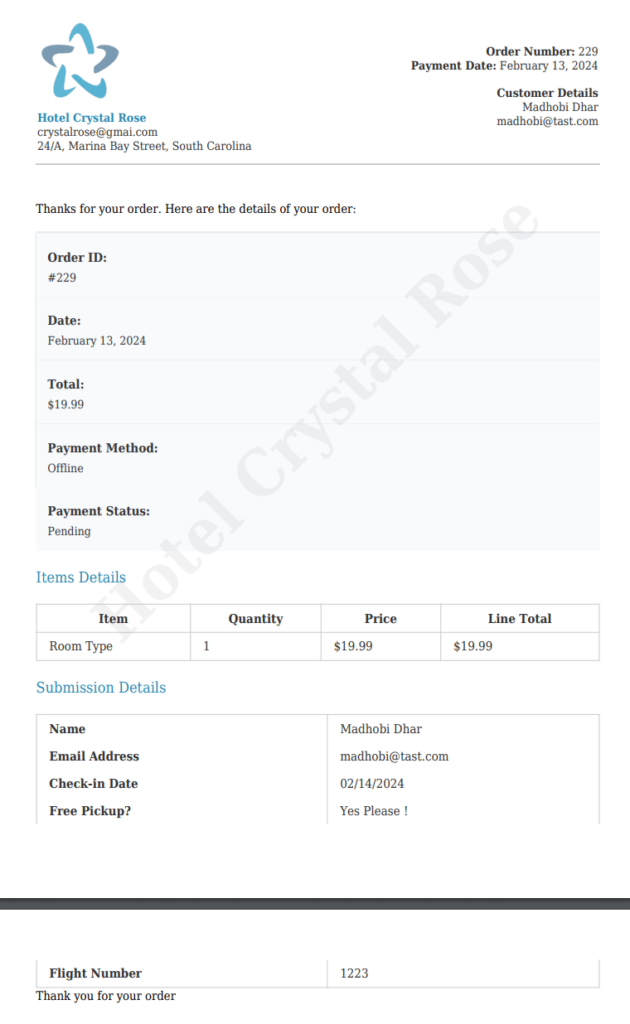
When you are running a business, you have to maintain data of your each transaction. It’s not easy to deal with a huge number of data manually, to help you do this Paymattic lets you generate PDFs quickly.
Along with the transaction details, you can customize the PDF with a watermark of your company name and logo, colors, and more. The plugin also allows you to send PDF files to the customers via email. To know details about this feature, read this blog.
Payment gateway
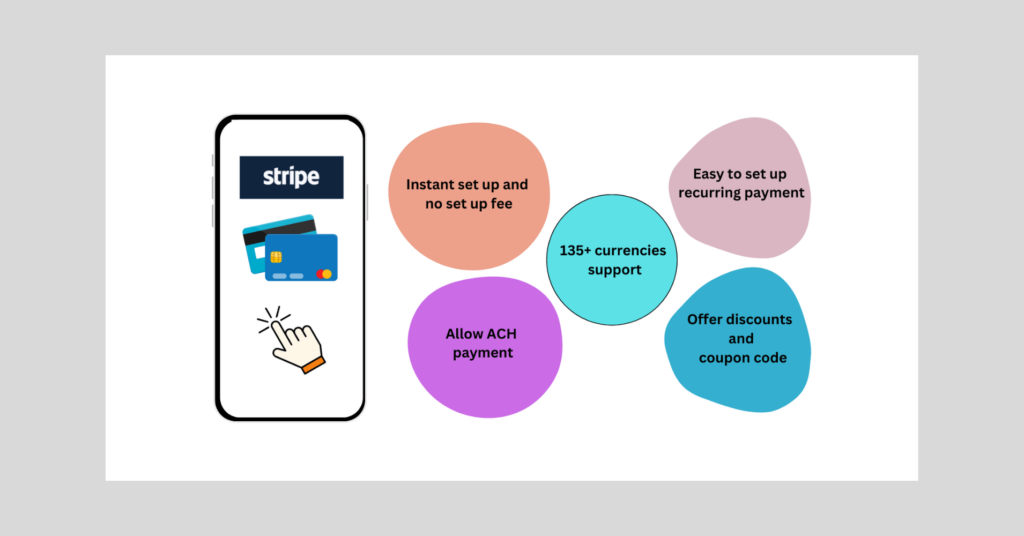
The payment gateway is the main concern of a payment plugin. Paymattic gives users full freedom to collect payment however they want. Stripe, PayPal, Square, Razorpay, Paystack, Xendit, Mollie, Payrexx, Billplz, Viva Wallet, Moneris, and SSLCOMMERZ are all available on the Pro version. With help of them, you can collect payments and donations worldwide, undoubtedly.
The free version offers Stripe payment gateway, which supports 135+ currencies, allowing you to accept payments from almost anywhere in the world.
Zapier and other Integration
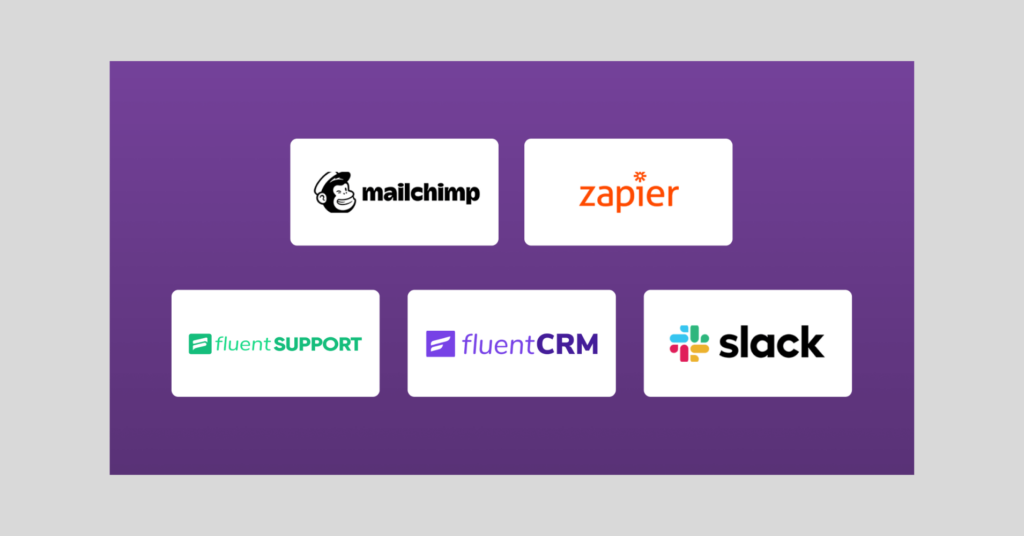
Already we talked about the features Paymattic offers, now another important thing is the integration. The plugin lets you integrate with 14 platforms, Mailchimp, Zapier, Fluent CRM, Fluent Support, and Slack these 5 are available on the free version.
Email marketing automation, automatic user registration, team communication, data management, customer management, and auto course enrolment, are all available in a single plugin!
Security
Your security matters to us! As we are committed to secured payment processing, that’s why Paymattic provides three layers of security in its both free and pro versions. Whenever you build any form Paymattic ensure multiple layers of security, that automatically block unwanted spam in your form.
Paymattic secures your form with-
- Google reCAPTCHA
- Honeypot
- Turnstile security
There is a password field also available in Paymattic, so you can input this field on your form. This field ensures security by letting users collect data in a password format.
Ready to get started?
Experience WordPress payment and donation like never before. Try Paymattic now!
Paymattic free in a nutshell
Now that you know what the free version of Paymattic offers, let’s take a look at the journey of creating a form and publishing it on your site using the free version.
Install Paymattic
The first step is to download and install the free version of Paymattic. The plugin is available on the WordPress repository. You can simply download the zip file from here and then upload it in the plugin section of your admin dashboard.
Alternatively, you directly download it from the WordPress plugins section by searching Paymattic.
Configure payment gateway

You must configure a payment gateway in order to collect payments from your customers.
- To do this, navigate to the Paymattic dashboard and click on “Payment Gateway.”
- Here, you will find a list of all the available payment methods. Select Stripe as the free version only offers Stripe payment gateway, and enter the API credentials for your merchant account.
Create a payment or donation form
Now it’s up to you to decide which form you want to create. However, the process of creating the form remains the same.
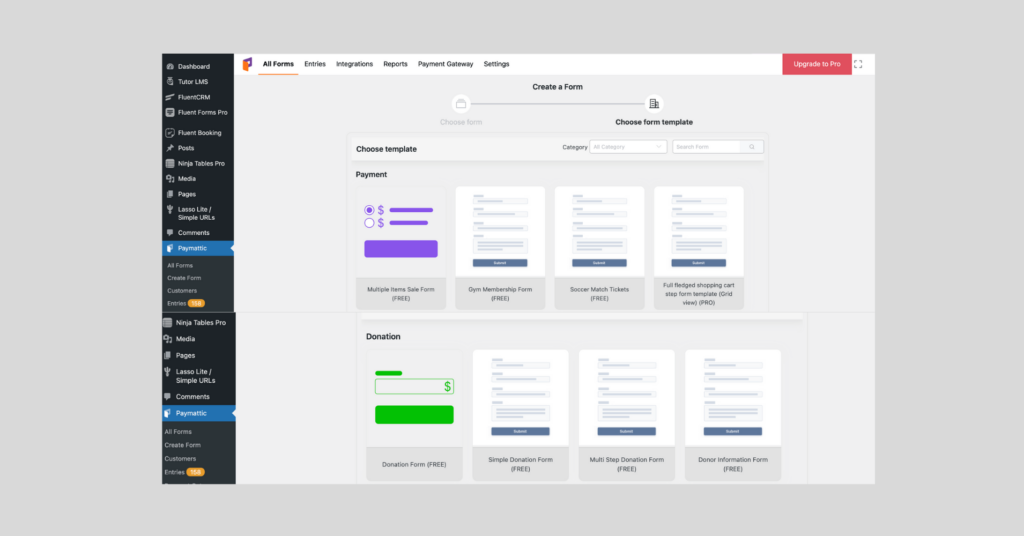
- To create your first form, simply go to the Paymattic dashboard and click on “Add New Form.”
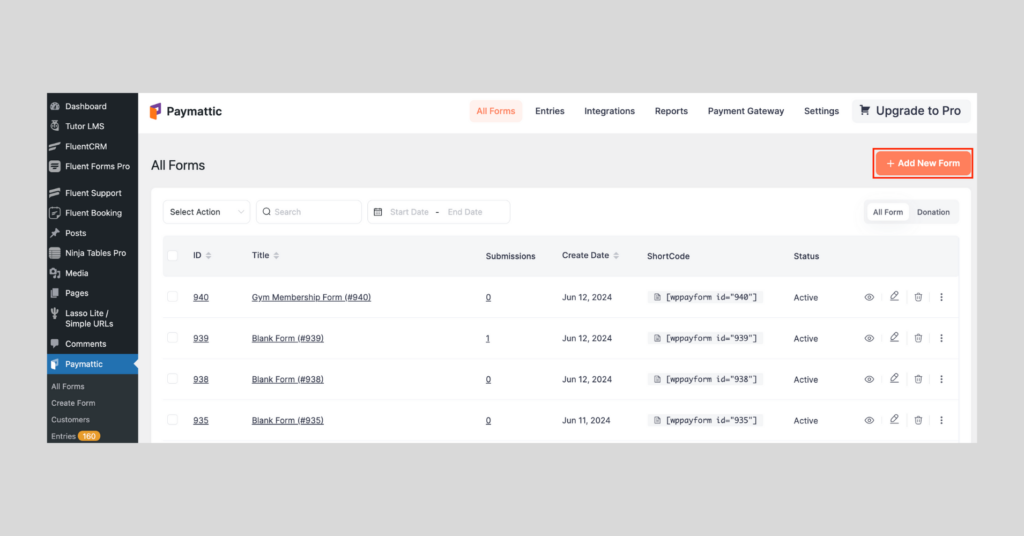
- Here you will find pre-built payment and donation form templates, you can go with them or to create a new one from scratch click on the Blank Form option.
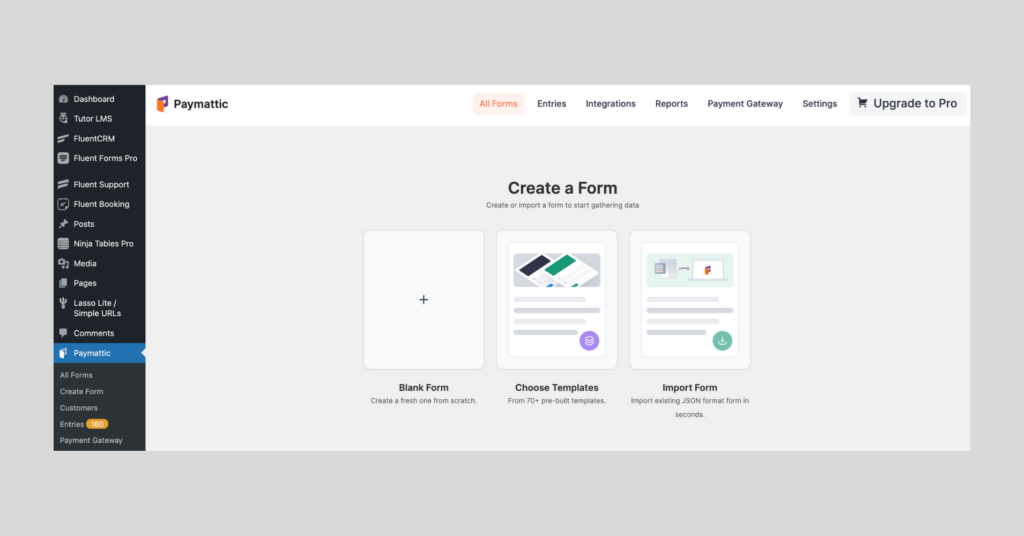
If you select blank form, you will get input fields to customize your form in your own style. These types of fields are available:
- General fields
- Donation and payment fields
- Payment method fields
Choose your preferred fields, after completing customizations, click on the Save button. That’s all, your form is ready! You can preview the form before publishing it on your site.
Publish form on your site
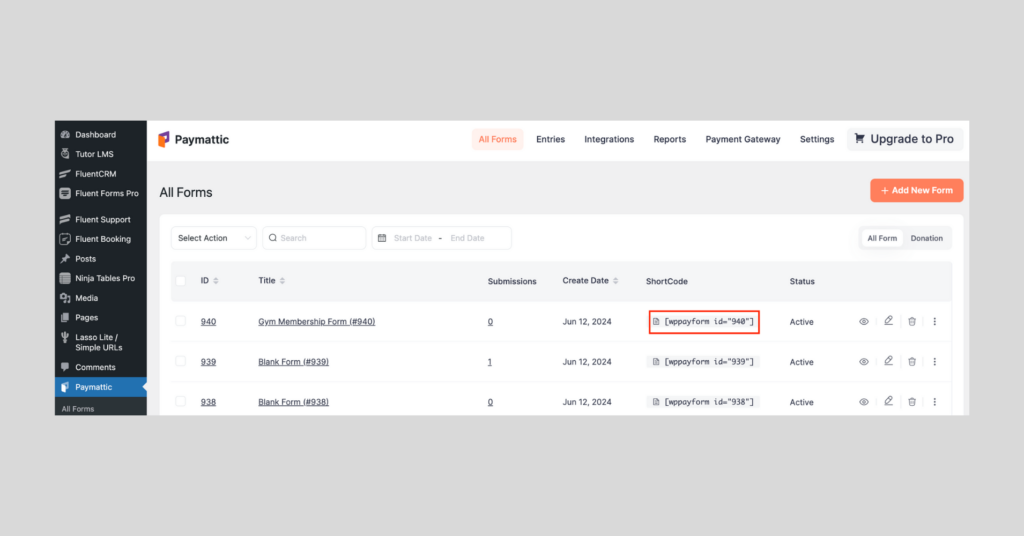
Now it’s time to embed the form on your site. It’s quite easy – just copy the shortcode of your form and paste it on the webpage where you want to publish it.
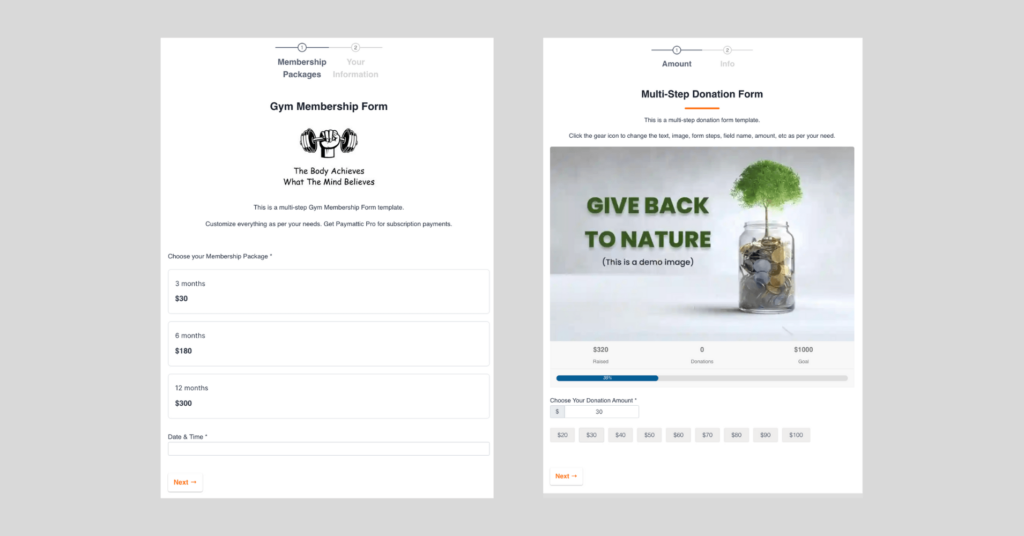
Here is a demo outlook of a Payment and Donation form created with the free version of Paymattic.
Ready to start your payment journey at zero cost?
As you already see, the free version offers a bunch of features and functionality that are only for customer satisfaction. If you are searching for a payment or donation plugin for your website, then our suggestion would be to try Paymattic free, we are confident that you will definitely love what we offer.
But if you need something advanced, you must upgrade Paymattic to enjoy seamless payment processing.
Comment below for any queries and mention your favourite feature of Paymattic, we appreciate your feedback.
Have a good day.
Ciao!