Create Donation Website in WordPress | Transform Your Passion into Action
Are you thinking about how you can reach millions with your great cause?
No worry! Now you can empower your cause by creating a powerful donation website in WordPress. You can’t imagine how easy it is to launch a professional-looking donation website that resonates with your audience and simplifies the giving process. This blog will guide you through the essential steps regarding how to create donation website in WordPress, which is user-friendly, secure and effective.
Whether you’re tech-savvy or new to the online world, our step-by-step guide will empower you to make a real difference with your WordPress donation website.
Why you should create donation website in WordPress
WordPress is the perfect choice to develop a site for collecting donations. It is the most affordable option compared to other CMS or SaaS platforms.
It is a highly SEO-optimized platform that is perfect for beginners. You do not need to lose your wallet for any monthly maintenance fees. You can manage it yourself without writing a single line of code.
On top of that, creating a donation website in WordPress offers several benefits for nonprofit organizations:
- Cost-effective: WordPress is a powerful platform that allows you to create custom designs without breaking the bank. It’s used by 43% of websites on the internet, including top brands like Disney and the New York Times.
- Flexibility: With thousands of themes and plugins available, WordPress can start simple and grow with your organization. You can integrate donation features, view donor profiles, create campaigns and many more.
- User-friendly: Even non-technical team members can manage content using WordPress’s intuitive dashboard.
- Customization: Design a donation page that aligns with your organization’s branding and mission.
- Plugin integration: Easily accept online donations by integrating WordPress plugin such as Paymattic.
Subscribe to Our Newsletter
Join the crowd for more promotional offers, product updates, fundraising tips and tricks.

Let’s learn how to create donation website in WordPress
Creating a donation website is simpler than you may think. Follow these step-by-step guide to build your own donation website.
Pick a domain name
First things first, to establish your online presence, you need to snag a domain name. Think of it as your website’s address – it can even be your brand name! When choosing a domain, opt for something easy to spell and memorable. Keep it short, sweet, and reflective of your niche.
To check if your dream domain is available, hop over to a domain registrar website (like NameCheap, GoDaddy, Bluehost, or Dreamhost). And remember, avoid symbols and numbers in your domain – that way, it’ll sound universally professional.
Buy a hosting plan
Alright, now that you’ve got your domain registered, it’s time to find a cozy spot for your online donation website. Think of it like choosing the perfect home! Look for a hosting provider that’s all about WordPress – they’ll make sure it’s a smooth ride.
Popular hosting platforms like GoDaddy, Bluehost, xCloud, Dreamhost, Hostinger, and HostGator are your go-to pals. Once you’ve picked your hosting plan, install WordPress, and voilà! You’re ready to activate your favorite theme and start transforming your passion into action with a donation website.
Configure hosting server with the domain
Once you’ve got your domain, your hosting provider will pass you the nameserver details. It’s like getting the keys to your new place. Just log into your domain account dashboard, where you registered your domain, and update it with the nameserver info from your hosting provider.
Let’s walk through an example with NameCheap:
- Log into your NameCheap account.
- Head over to Account → Dashboard → Domain List.
- Here you will find the list of your registered domain. Select your domain and click the Manage button.
- It will take you to the domain management page. Go to the Nameserver section and select Custom DNS from the dropdown. Put your nameserver information in the required field. Save the settings.

Great! You have configured the nameserver with your domain. A new domain usually takes 24-72 hours to propagate properly. Once your nameserver configuration is successful, you can access your website using the domain URL.
Ready to get started?
Experience WordPress payment and donation like never before. Try Paymattic now!
Design a donation website
Great job! You are done setting up your domain and hosting, and getting WordPress up and running! It’s now time to dive into your WordPress dashboard and bring your generous vision to life.
Accessing your WordPress dashboard is simple like signing in to your Facebook! You can use your hosting provider’s account or simply add “/wp-admin” to the end of your domain URL. So, if your site is “www.example.com,” just head to “www.example.com/wp-admin” to reach the login page.
Once you’re in, you’re all set to craft your online donation website. Kick things off by picking a theme that vibes with online fundraising. On the hunt for a free option? Check out the Kadence Charity theme – it’s free and easy to manage and perfect for a donation site.
Once you have activated the theme you are ready to roll with your WordPress site.
Install & activate the WordPress donation plugin Paymattic
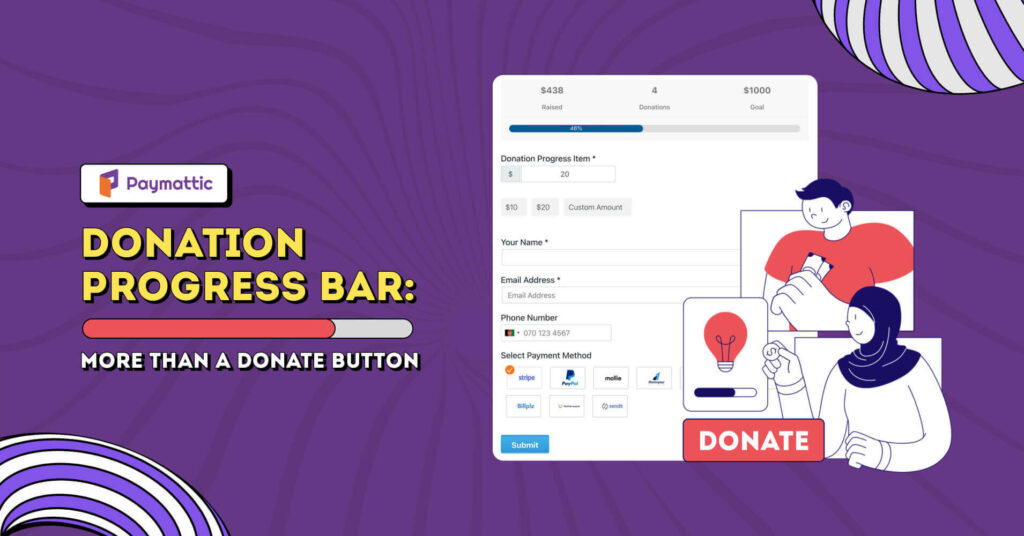
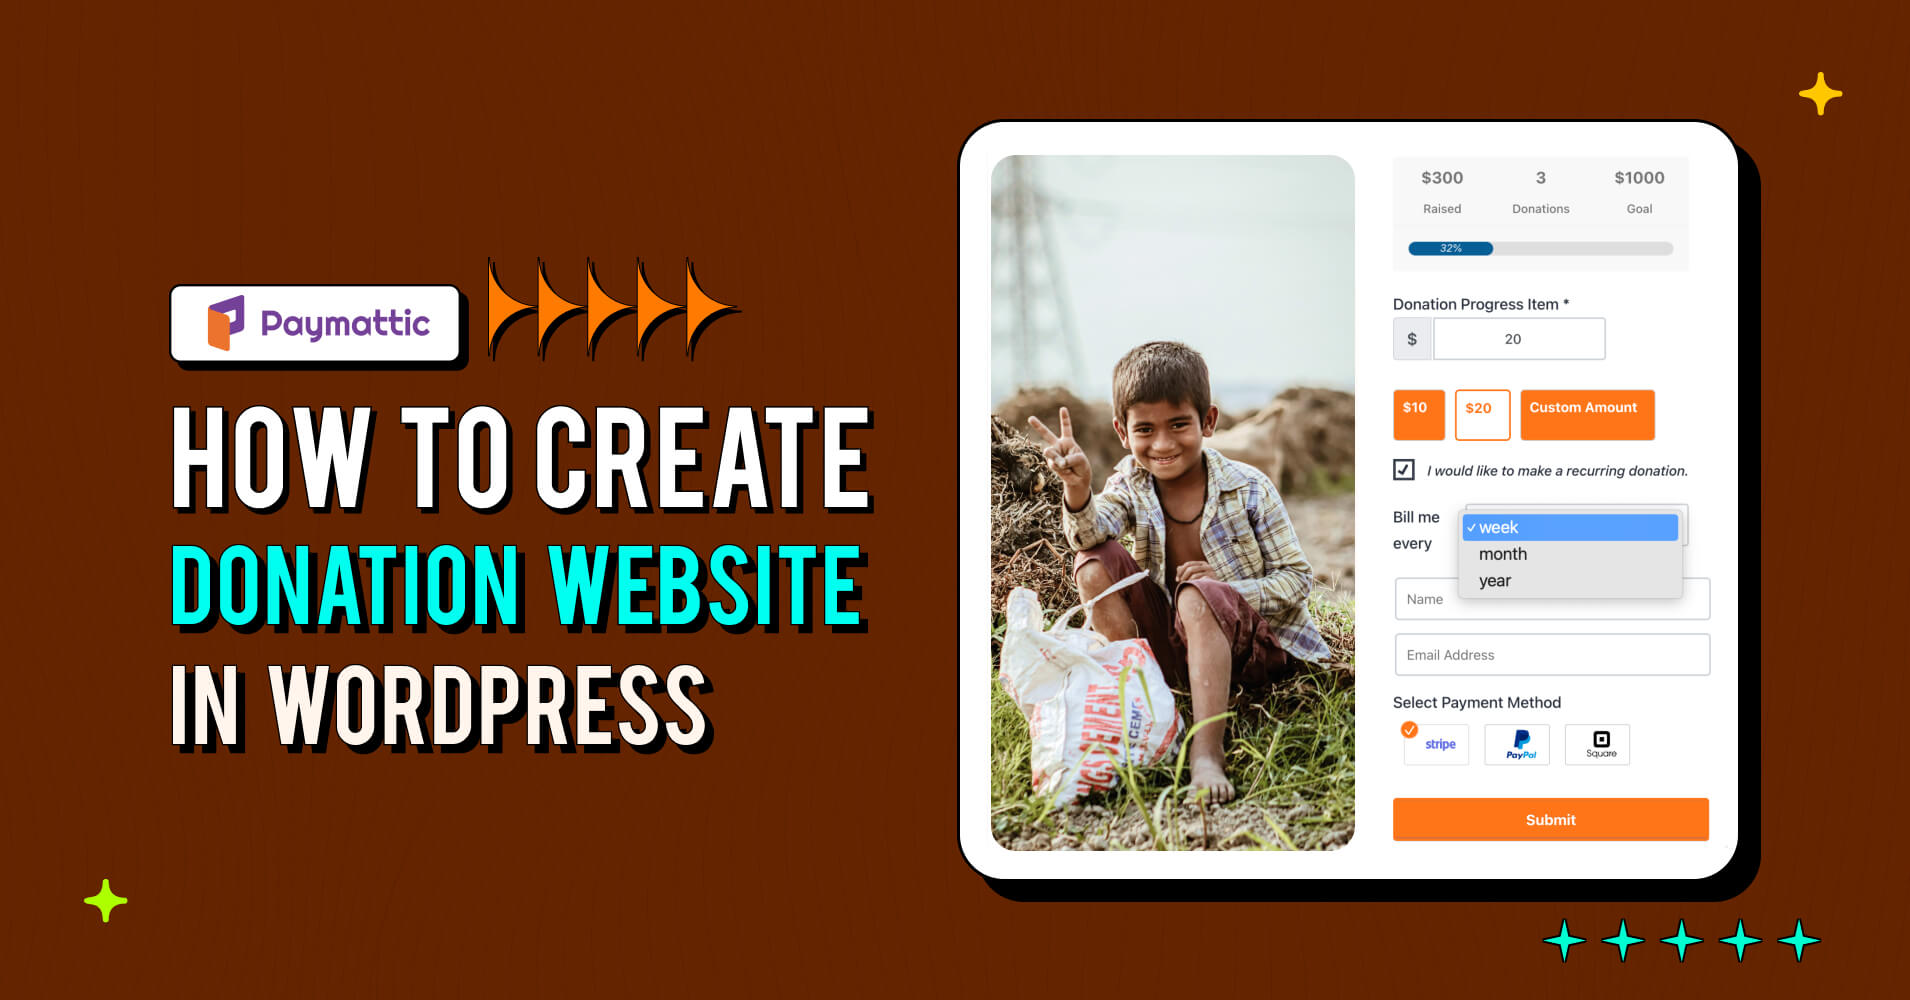
Now, let’s move forward and enable all the donation functionalities to your website. Install & activate the awesome WordPress donation plugin Paymattic. It comes up with all the donation features such as a donation progress bar, donation goal item, 70+ pre-built donation templates, custom donations, recurring & one-time donations, donor profile, user-dashboard and more.
To install a plugin, go to Plugin → Add New from your WordPress admin panel. Search for Paymattic and activate it.
Check out this blog to learn how you can add a donation form on your website
Bottom line: The power of generosity is just a few clicks away with Paymattic
Well, hope now you have a clear idea about how to create donation website in WordPress. Every donation counts, and with Paymattic, you’re not just launching a website, you’re opening a door of generosity and goodness.
So go ahead! Inspire giving, and watch as your community comes together to support your cause. Bring endless possibilities and make an immeasurable impact with Paymattic. Start your journey today and make a lasting difference with every donation!
Try Paymattic & join the thousands already enjoying it.