
Paymattic allows you to assign and manage user roles within WordPress, providing flexibility in controlling user access and permissions based on payments or subscriptions. This article will guide you on how to manage user roles efficiently using Paymattic.
In Paymattic, by default, only the Administrator has permission to access and manage the plugin. However, you can permit other user roles to manage your Paymattic forms or access the user dashboard.
To learn how to assign or modify the User Roles through Paymattic, follow the steps with the screenshots below –
First, go to Settings from the Paymattic Pro sidebar menu. Click the Permission tab from the left sidebar, and the permission settings will appear.
Paymattic Admin Permissions #
This section allows you to control which user roles have access to manage the Paymattic plugin. By default, only Administrators have access. If you select additional roles, you can give access to manage your Paymattic to other user roles.
Now, select the roles by clicking the checkboxes for the users you want to give admin access to.
For example, in the screenshot, the Contributor role is selected.
Also, if you want to select all the roles at once, click the Check All button.
Once you select the roles, press the Save Settings button to save all the changes.

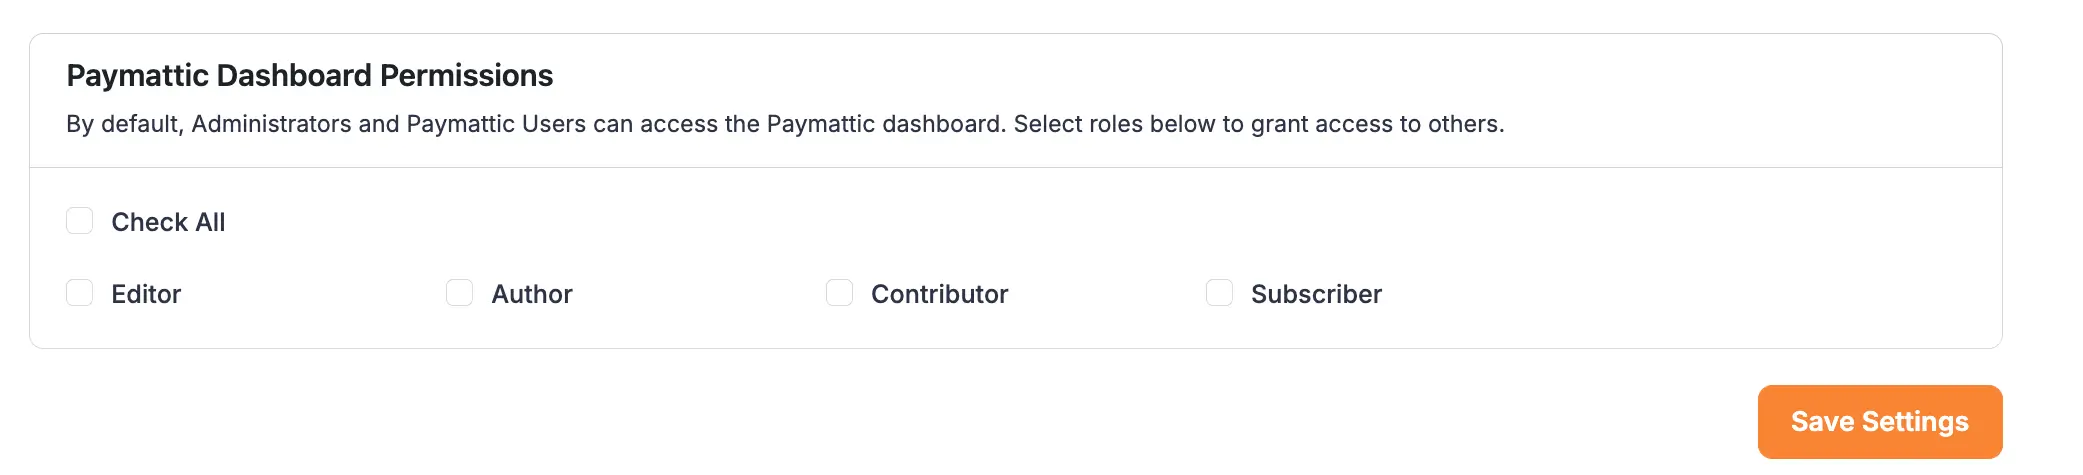
Paymattic User Dashboard Permissions #
This section allows you to control which user roles can access the Paymattic user dashboard from the front end.
By default, Administrators and Paymattic Users can access the Paymattic dashboard. Select the roles by clicking the checkbox to grant access to others (for example, Editor, Contributor, or Subscriber).
This feature is particularly useful if you want to allow certain team members to view reports and statistics without giving them full administrative control to edit forms or change settings. Once you select the roles for both settings, press the Save Settings button to save all the changes.
This way, you can easily manage the user roles through Paymattic!
If you have any further questions, concerns, or suggestions, please do not hesitate to contact our support team. Thank you.


